Happy Passover

28 Mar

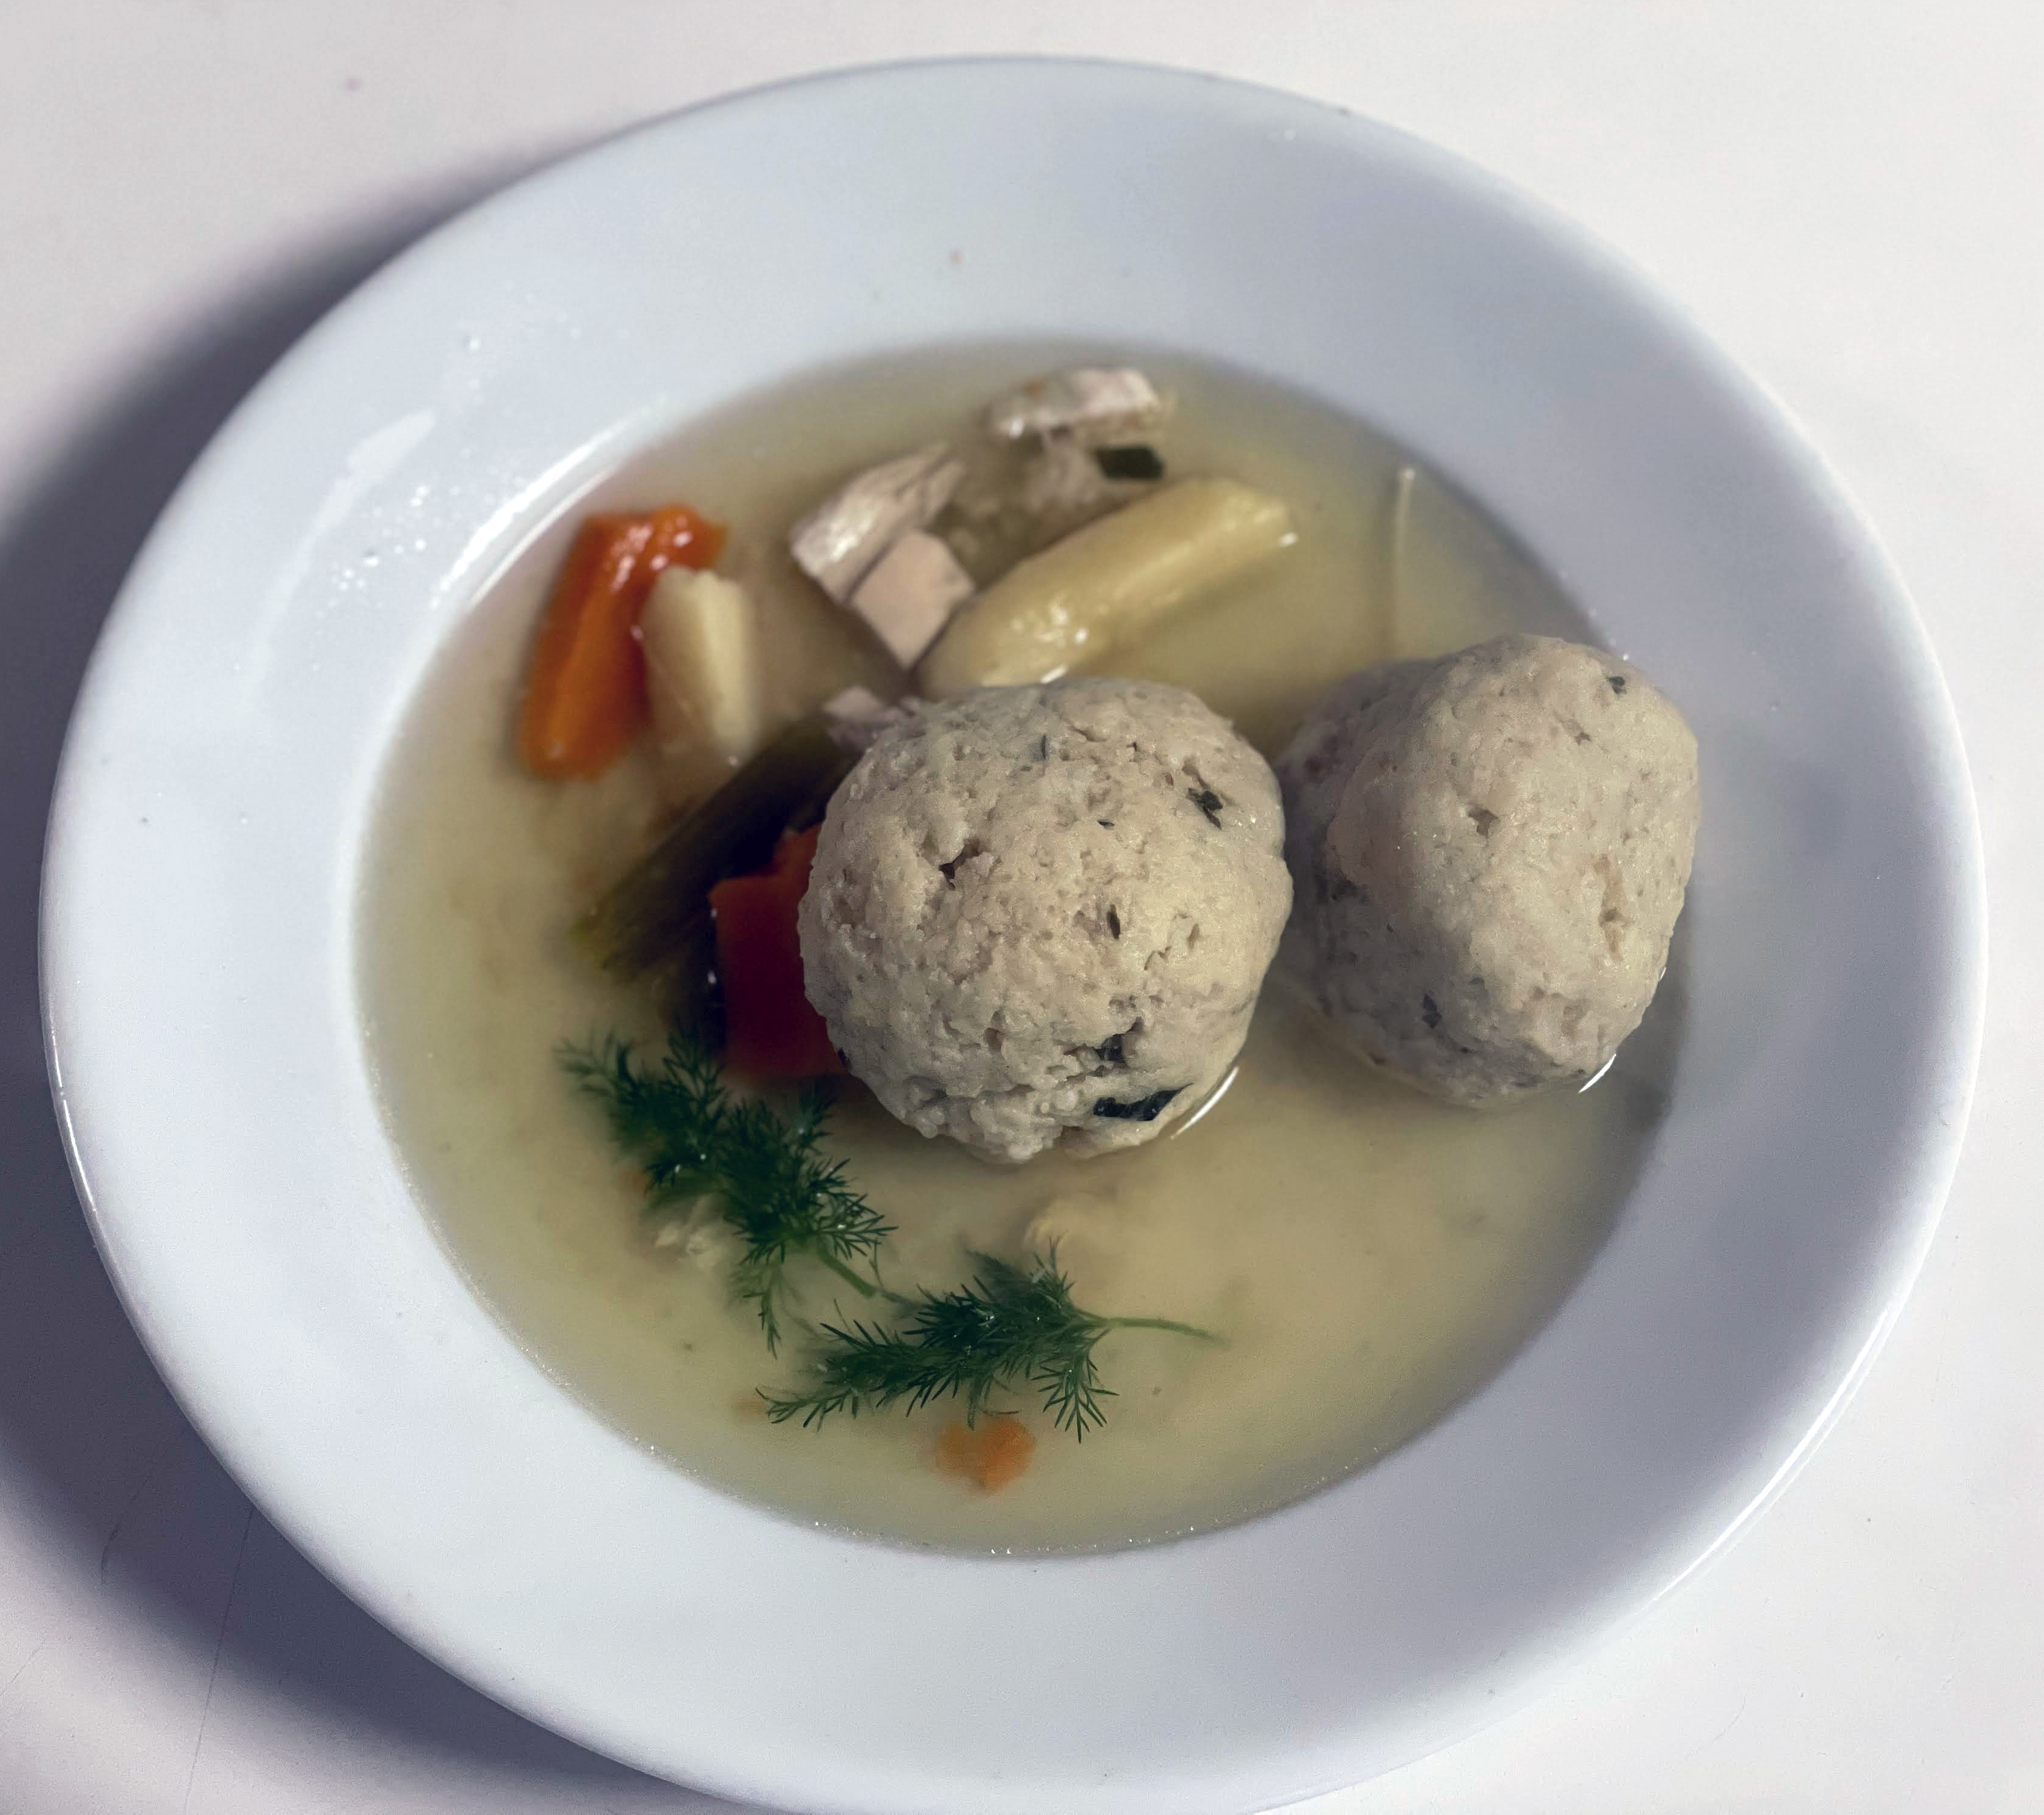
Tonight was the first seder marking the start of Passover, the Jewish holiday that celebrates the exodus of the Jews from slavery in Egypt. The Passover seder includes many symbolic foods like matzoh, an unleavened bread, representative of the bread they were unable to let rise while fleeing. Another staple you’ll find at many Jewish holiday tables – not just Passover – is chicken soup with matzo balls.

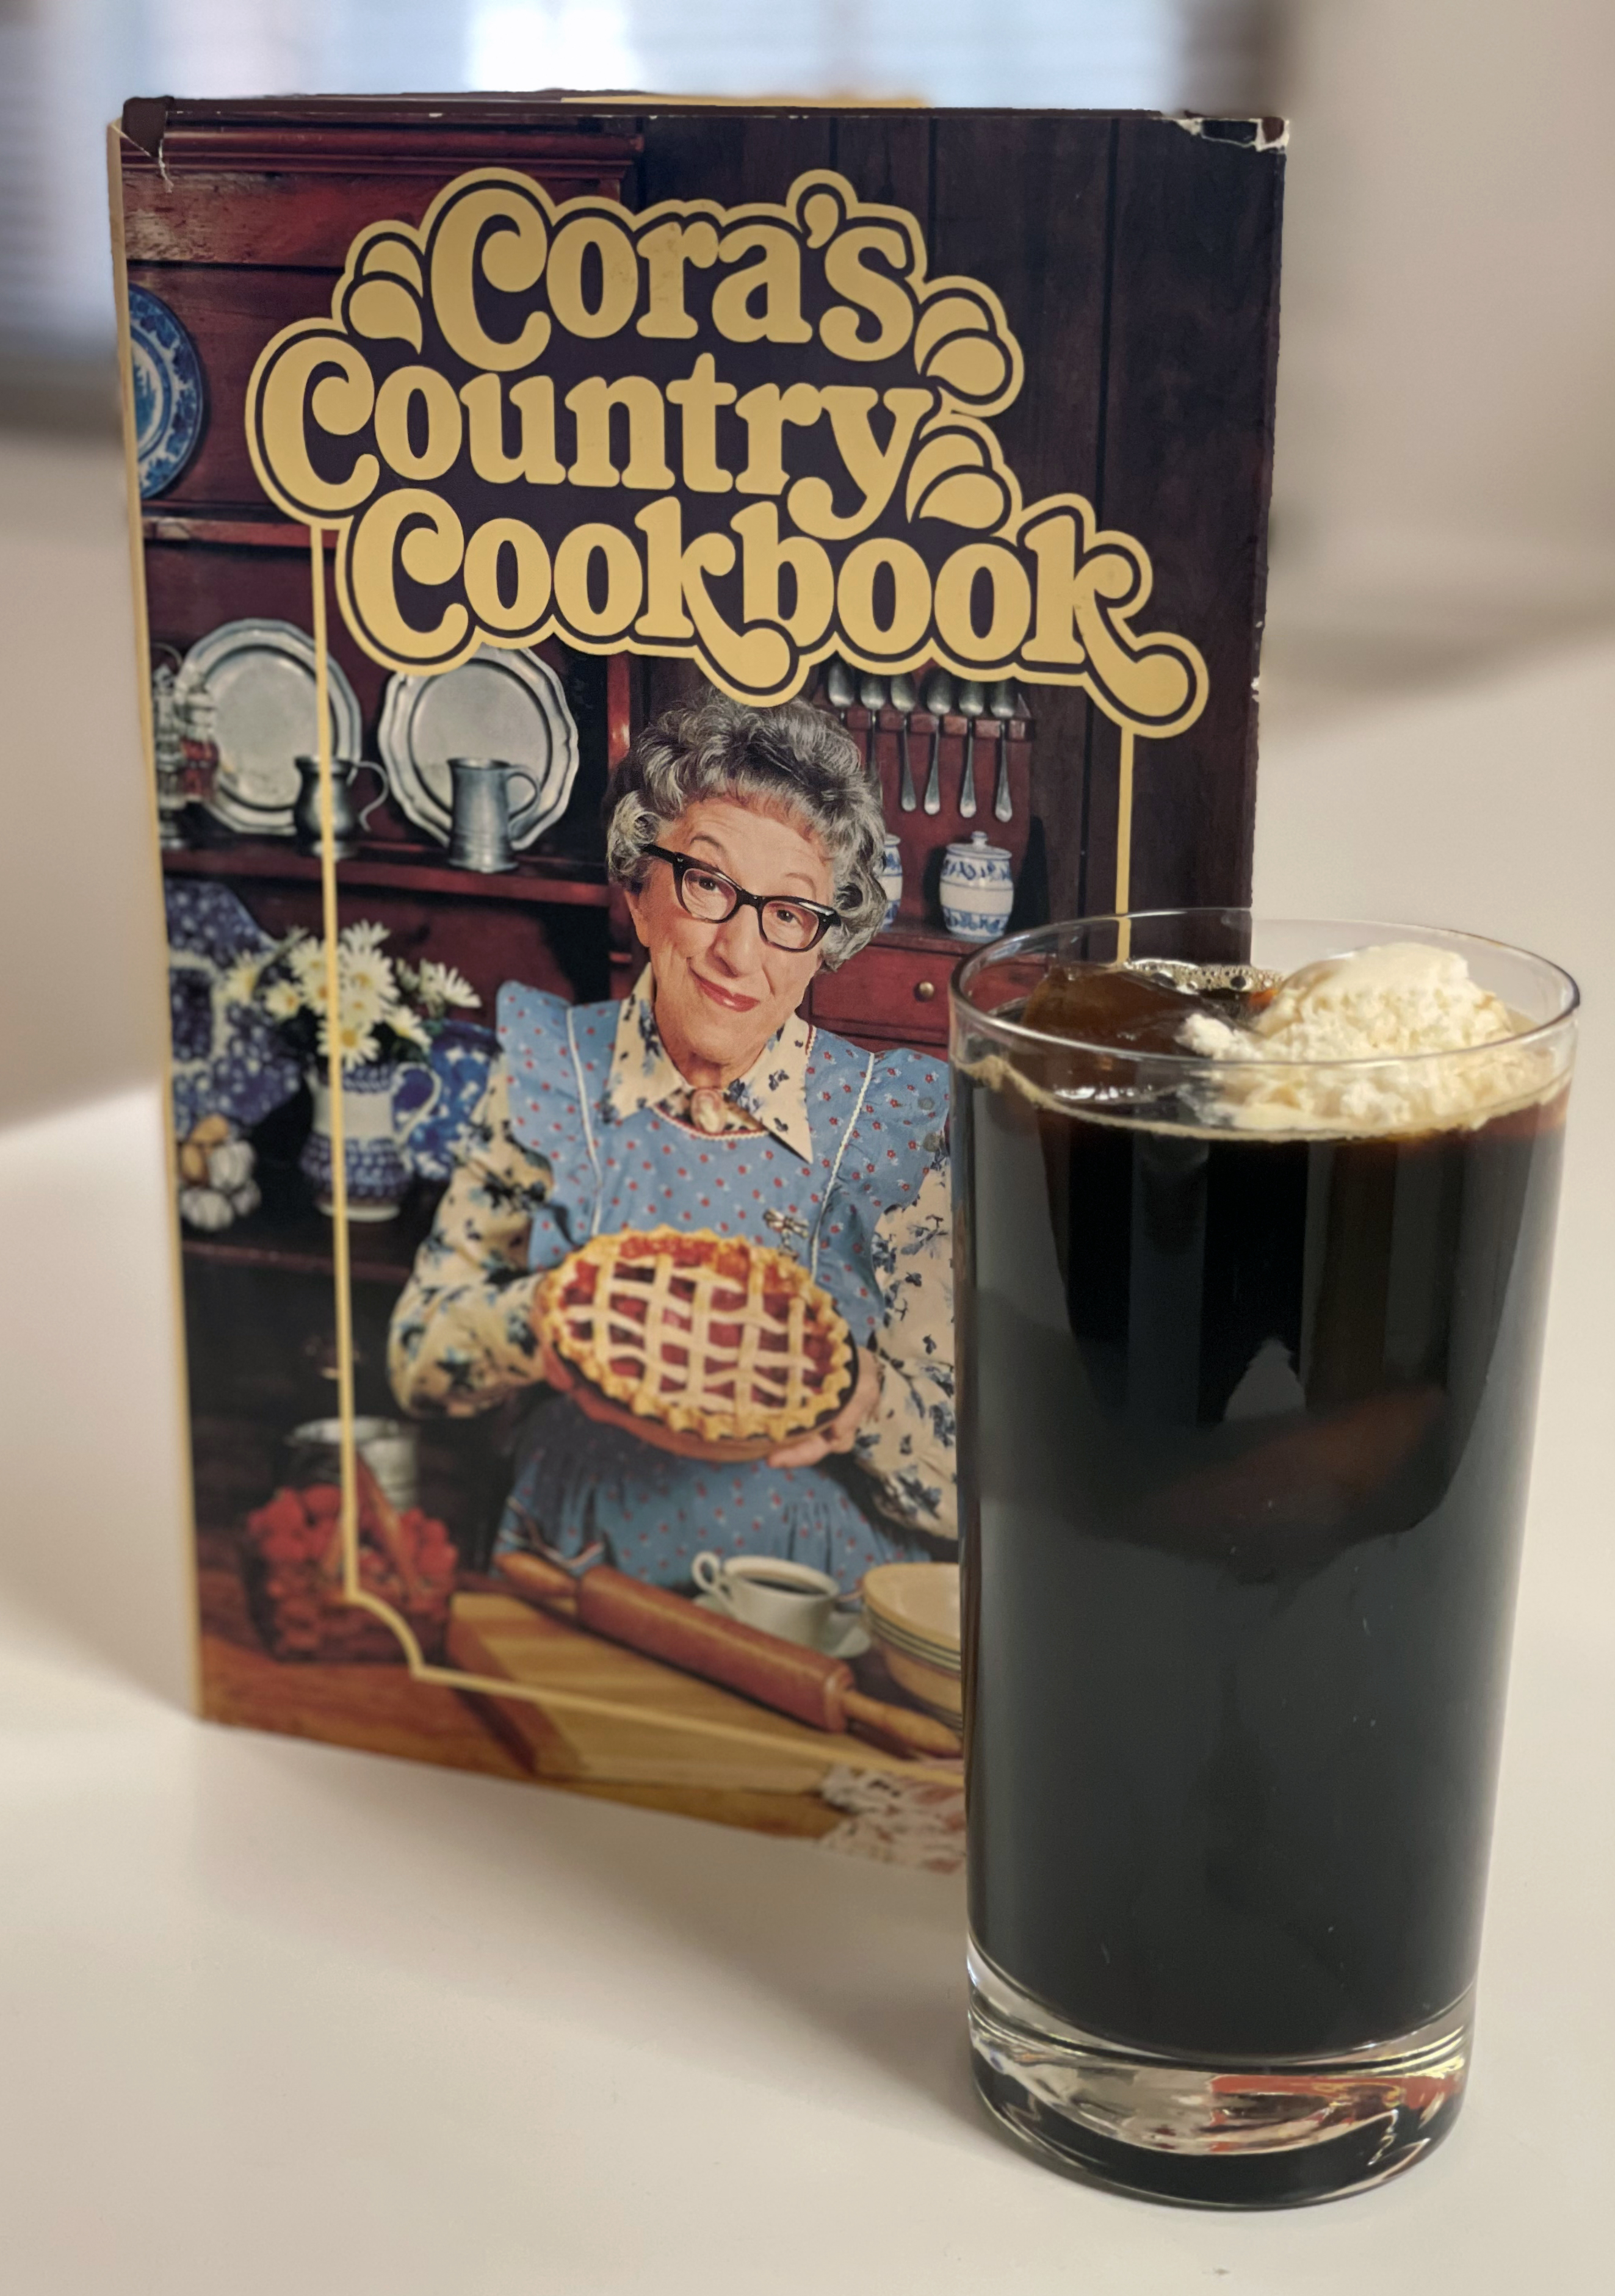
While there are dozens and dozens of ways (just ask your grandma or mother!) to prepare this flavorful broth – Food for Show, Food on the Go (1983), a cookbook originally published by the now defunct Mount Sinai Hospital, provides the perfect starter recipe to make your own. This is definitely the basic recipe I follow – although I double it and use a ginormous soup pot. Plus I Iet it simmer for closer to 3 hours. And what I’ve learned over the years is the importance of the water to chicken ratio. Too much water and your soup will be tasteless. You want to aim for a rich yellow broth. And never, ever, plan to make chicken soup the day you want to eat it. Instead, refrigerate the cooked soup over night and the next morning you’ll be able to lift the fat that has risen to the top. Yes, you can leave a little if you like that shimmering effect!

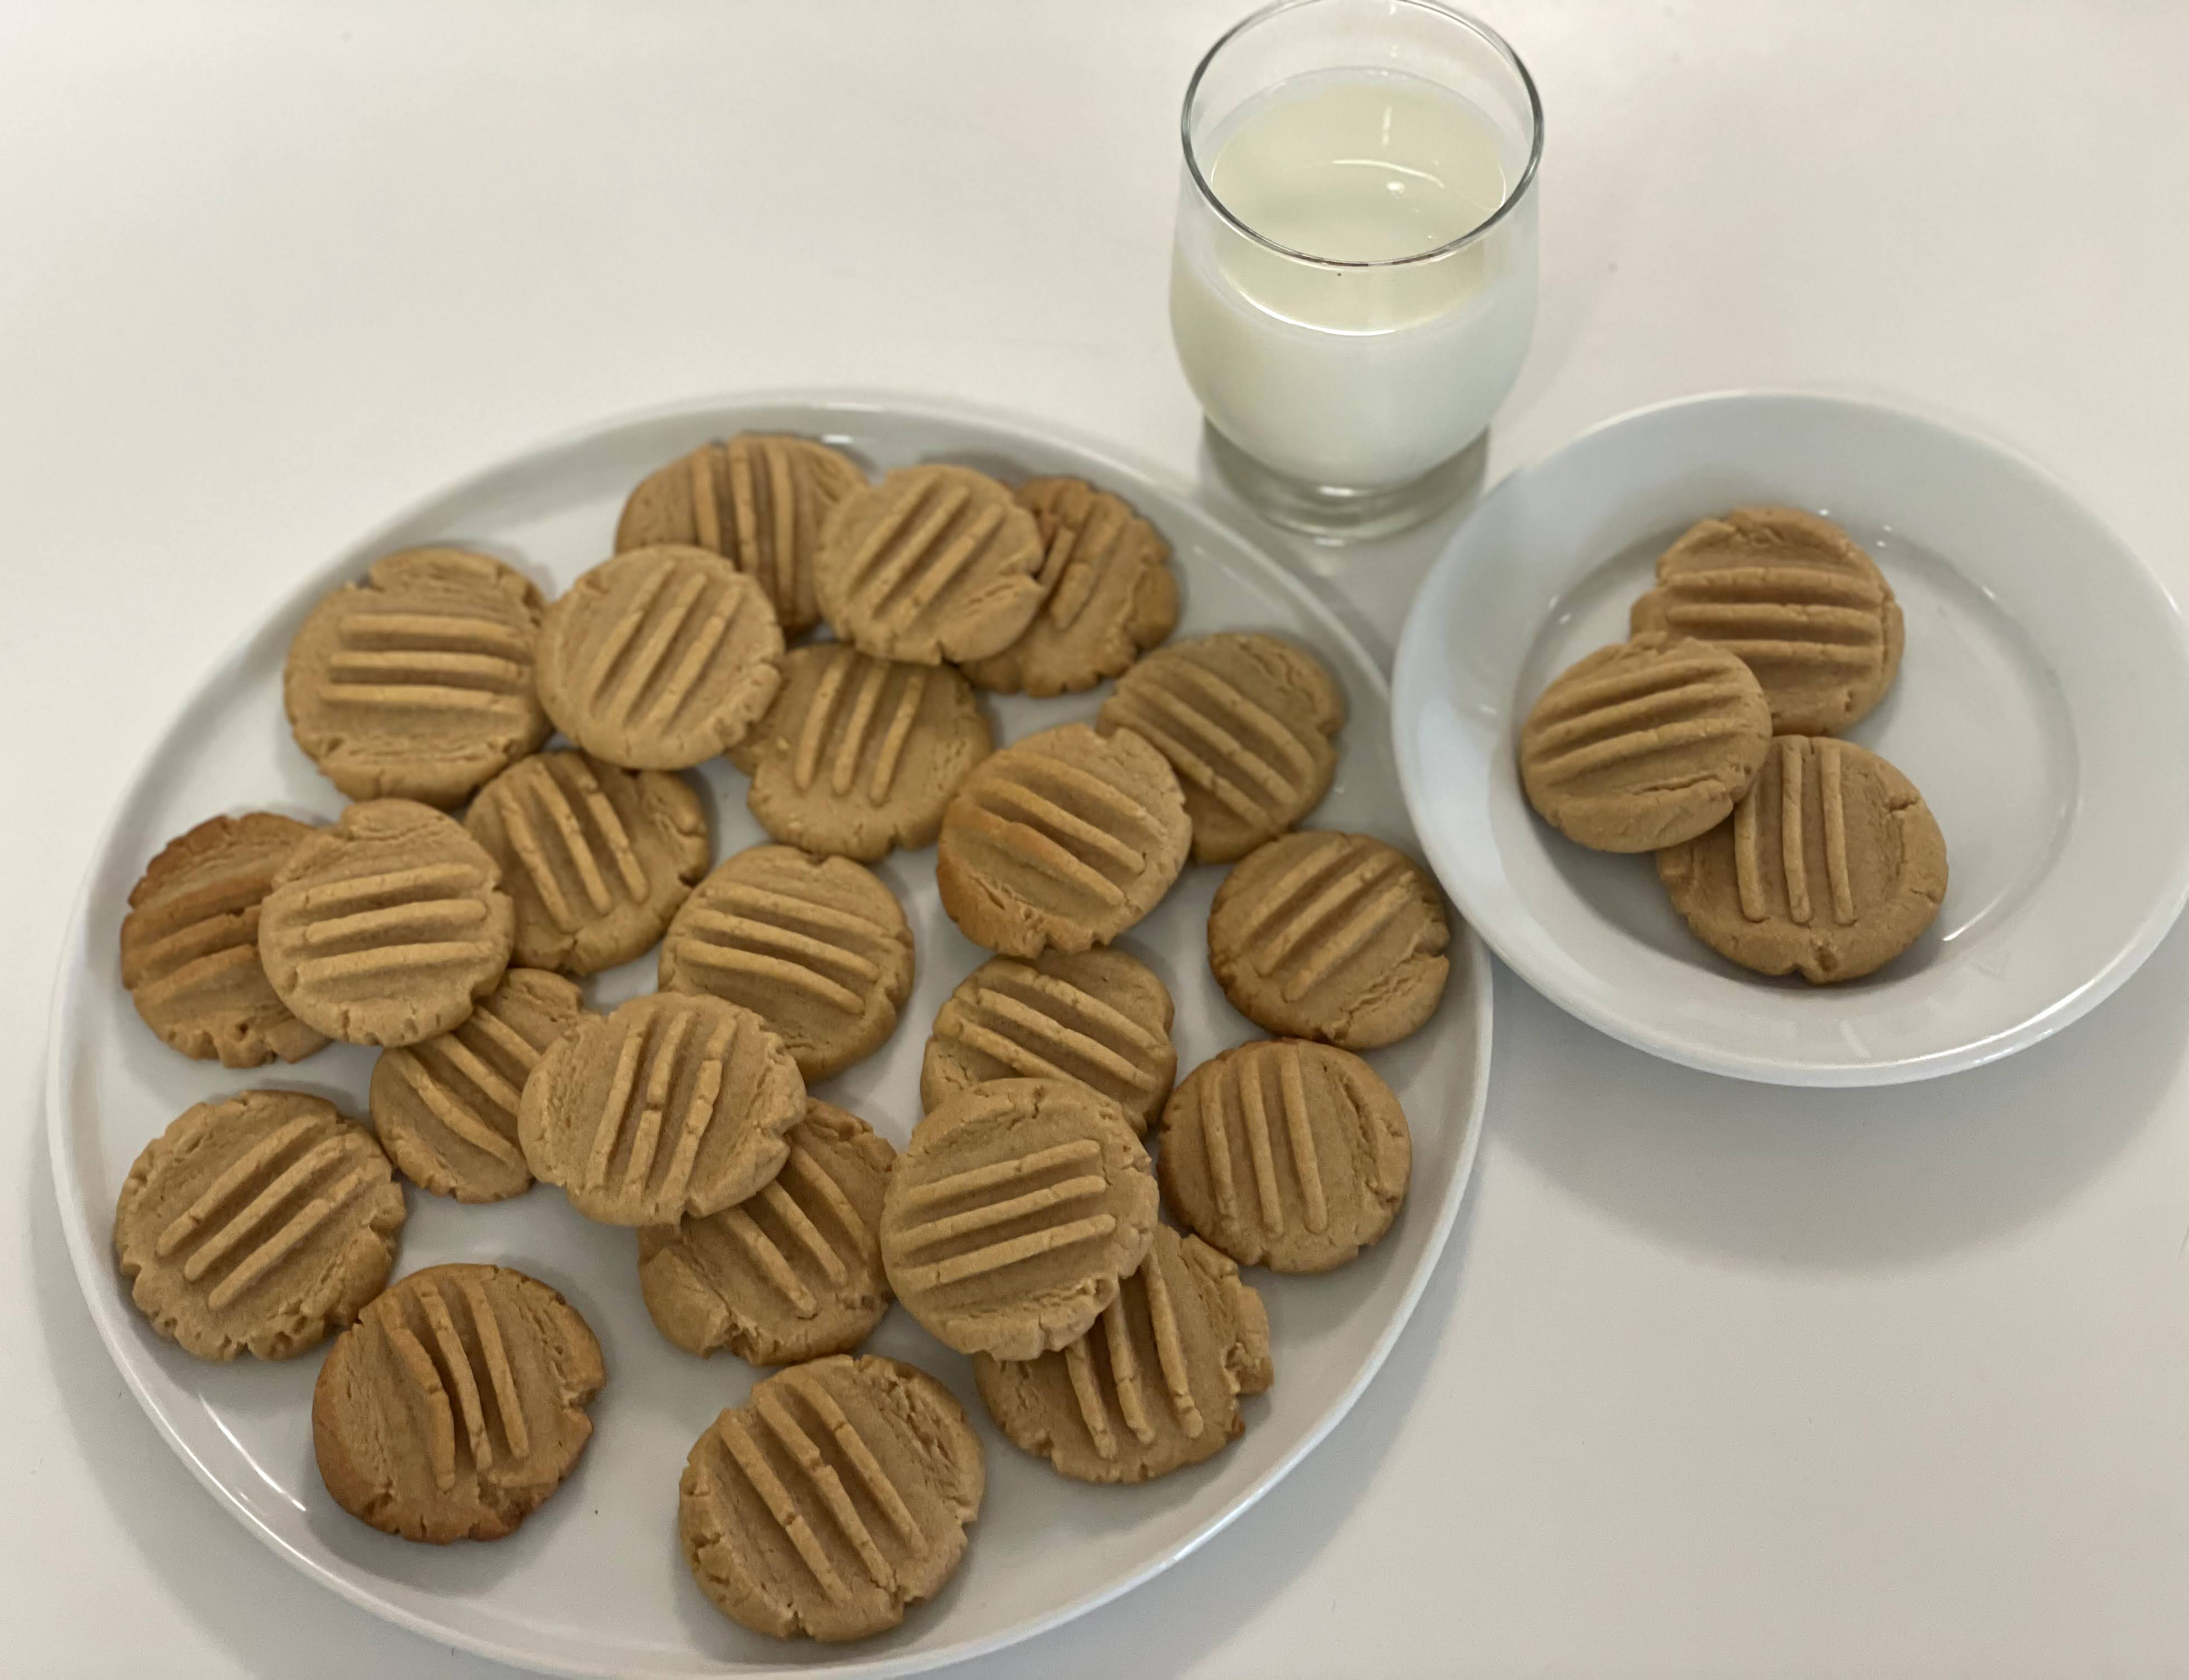
This is a must-own cookbook. Luckily the Mount Sinai Community Foundation partnered with Sholom Home Auxiliary to update the book in 2007. This newer edition has new recipes from both the community and local restaurants. Many of my favorite recipes in this book include Baked Salami, Baked Brie, Roadhouse Potatoes, Tex-Mex Spread and more! You can still find it on Amazon.

That Soup

1 3½ – 4 pound chicken, cut up

1 medium, onion

2 carrots, sliced

1 parsnip, sliced

1 rib celery, sliced

1 tablespoon salt

¼ teaspoon white pepper

1 teaspoon dillweed or fresh dill (optional)

Rinse chicken pieces well (or not, experts now advise against rinsing chicken!). Place in a 4-quart pot and cover with cold water. Bring to a boil and skim broth very well. Reduce to simmer and skim again. (fyi, I do very little skimming as I thoroughly strain my soup once cooked). Add all remaining ingredients and cook until chicken is tender, 1 – 1½ hours (or more; again the key is the color of your broth). Remove chicken. Serve soup with the cooked vegetables and matzo ball (and/or noodles/kreplach); sprinkle with dill.

Cook’s note: I combine chicken and veggies together from the start.

Traditionally chicken soup goes hand in hand with matzo balls – and I had every intention of including a matzo ball recipe here today but truthfully I have never found that “perfect” matzo ball recipe – which for me would be a firm ball redolent with flavors I remember at seders at my grandmothers. I wasn’t impressed with either matzo ball recipe in this otherwise outstanding cookbook so….I recommend you use the recipe found on the matzo meal canister/box or pick up a matzo ball mix in your supermarket. My soup picture shows my latest attempt at perfecting a matzo ball. Still not perfect but passable. I’m not sharing because I didn’t use a recipe – just my sense of how it the “batter” should look.

I will be sharing Passover friendly recipes here for the next week – recipes that anyone can enjoy any time without special ingredients!

This coffee ices out the competition

26 Mar

Wish I could remember how Cora’s Country Cookbook (1977) ended up in my cookbook collection. But there it is! If you are of a certain age, you might remember Cora (actress Margaret Hamilton), the spokesperson for Maxwell House Coffee once upon a time. More notable, she was the Wicked Witch of the West who melted at Dorothy’s feet in “The Wizard of Oz”! Hard to believe that sweet face (see below) played such an evil part!

It’s a funky little cookbook promoting General Foods products in every recipe. One in particular caught my eye. I’m a big fan of iced coffee – especially Starbuck’s – and yes, I drink it black! I had to try the iced coffee recipe in the cookbook – along with the coffee ice cubes. What a great way to guarantee that your coffee isn’t watered down by conventional ice cubes! Personally I love it “as is” but a dollop of ice cream is (was) a great add-on!

Iced Coffee

Freshly brewed Maxwell House coffee (or coffee of your choice)

Coffee ice cubes (recipe follows)

Cream and sugar (optional)

For each glass of iced coffee desired, brew coffee using 2 level tablespoons coffee and ¾ measuring cup (6 fluid ounces) cold water. Use more or less to suit your taste. Pour hot coffee over ice cubes in tall glasses (I prefer to wait until the coffee is lukewarm). Serve immediately with cream and sugar (optional).

Coffee Ice Cubes

3 cups (about) brewed Maxwell House regular grind (or your favorite coffee)

Pour coffee into ice cube freezer tray. Freeze until firm, at least 5 hours. If used with cold coffee, makes enough cubes for eight 12-ounce glasses; with hot coffee, enough for five 12-ounce glasses.

Stir this one up…

25 Mar

My dad got me hooked on Chinese food at a very young age. John’s Number One Son Restaurant in Minneapolis was a Sunday night family favorite, and for special occasions, the Nankin in downtown Minneapolis. While I do a decent job of recreating many of my favorite Chinese dishes, I’m always on the lookout for more tricks of the trade. This recipe which I found in Chinese Cooking Lessons (1977) by Constance D. Chang suggested a prepping technique I’ve never encountered before – using baking powder to tenderize the meat. End result was super tender meat with a delicious coating and sauce. My dad would be proud. Belated thank you for the cookbook, Dad!

Stir-Fried Beef in Oyster Sauce

⅔ pound sirloin or top round beef, thinly sliced*

1 teaspoon baking powder

1 tablespoon cornstarch

2 tablespoons oyster sauce

1 tablespoon Chinese rice wine or sherry

5 tablespoons oil (I used scant 3)

1-inch piece fresh ginger**, chopped finely

½ green onion, chopped finely (I used half a medium yellow onion)

Dust the beef with the baking powder and let sit for 1 hour. (Baking powder tenderizes the meat.) Then coat the beef with a mixture of cornstarch, oyster sauce and rice wine and let sit for another hour. Heat the oil, and stir-fry the onion and ginger. Add the undrained meat, and stir-fry quickly over high heat for 2 minutes.

*Slicing frozen beef will give you the thinnest possible slices. Let defrost enough so that you can safely slice through the beef.

**I keep a piece of ginger wrapped in aluminum foil in the freezer. When I need it, I peel the brown skin with a vegetable peeler then grate the frozen ginger with a microplane fine grater.

Dilly of a potato

25 Mar

My never-ending quest for potato recipes continues. And lo and behold I found another “keeper” in the microwave “bible” I purchased years ago. Truth be told I never did make many recipes from this book – with one exception – a white sauce you make right in a measuring cup!

This potato recipe from HP Books Microwave Cookbook (1982) by Pat Jester is super easy to assemble and the potatoes are as appetizing as they look. I’ve included directions for two different quantities (second in parentheses). And sure you can use fresh dill for an added taste of spring! If you’re coming to dinner to my house this weekend, these potatoes will be on the menu!

Dill-Buttered New Potatoes

2 pounds – about 13 potatoes

(1 pound – about 7 potatoes)

3 ½ cups hot water

(2 ½ cups water)

3 tablespoons butter or margarine

(2 tablespoons butter or margarine)

1 teaspoon dried dillweed

(1/2 teaspoon dillweed)

Wash potatoes. Halve any large potatoes so all are about the same size. Pare a small strip of skin around center of whole potatoes. In a casserole combine potatoes and hot water to cover. Cover. Microwave at full power (High) for 20 – 22 minutes (15-17 minutes) or until potatoes are fork-tender, stirring once. Let stand, covered, 2 minutes. Drain. Add butter or margarine and dillweed; toss until all potatoes are covered.

Will work for peanuts (err peanut butter cookies)

23 Mar

The Peanut Butter Cookbook by William Kaufman (1977) has recipes ranging from appetizers to soups, main dishes, salads, sauces and of course desserts and more – all made with peanut butter. Who doesn’t love peanut butter??? I was drawn to a recipe in the Famous Favorites section of the book – particularly a recipe titled Minnie Pearl’s Grinder Switch Treats. Apparently Grinder Switch was the fictional hometown of Minnie Pearl, portrayed by Sarah Ophelia Colley Cannon, a comedian who appeared at the Grand Ole Opry for more than 50 years. Old-timers might remember she always wore a funky hat with a price tag dangling on the side!

These cookies bring me back to my childhood; they are exactly what my mom use to bake. Dip your fork in flour before flattening cookies. This cookbook is still available online.

Minnie Pearl’s Grinder Switch Treats

½ cup butter

½ cup firmly packed brown sugar

½ cup granulated sugar

1 egg

1 cup peanut butter

½ teaspoon salt

½ teaspoon baking soda

1½ cups all-purpose flour, sifted

1 teaspoon vanilla

Beat the butter until soft. Gradually add the sugars. Blend until light and creamy. Beat in the egg, peanut butter, salt and baking soda. Add the flour and vanilla to batter. Mix well. Pinch off pieces of dough and roll them into small balls. Place on a greased baking sheet. Flatten cookies with a fork. Bake in a preheated moderate oven (375 degrees) for about 15 minutes.

Makes about 5 dozen

These ribs are worth sticking to….

22 Mar

My son Lee introduced us to barbecue legend Aaron Franklin. Based in Austin, Texas, he has mastered the art of barbecuing/smoking and has shared his vast experience with those of us who share his love for anything and everything barbecue via his restaurant, Franklin Barbecue, and through online tutorials and cookbooks. Interestingly he advocates for simple spice rubs and very little sauce. And his method of barbecuing is low and slow.

This recipe is from Franklin Barbecue (2015) by Aaron Franklin and Jordan Mackay (2015). Subtitled “A Meat-Smoking Manifesto,” it’s a coffee table worthy book thanks to tantalizing pictures and interesting stories, and of course, recipes. It’s my husband’s “go to”! And it all starts with a good rub.

Spare Ribs

1 full rack of pork spare ribs

Oil, fat, water, Apple Cider vinegar, or other liquid, for slather, optional

About ¼ cup Pork and Turkey Rub (recipe follows)

Spray bottle of water, Apple Cider vinegar or other liquid

About ½ cup barbecue sauce

Heavy-duty aluminum foil

Seasoned firewood (preferably oak or hickory)

Pork Rib and Turkey rub

A rough guideline is that you’ll need about ¼ cup (2 ounces) rub, total, for each rack of ribs or turkey breast.

2 parts black pepper to 1 part salt plus optional add-ons: granulated garlic, granulated onion, paprika (added for color and savory aspect)

Trim the ribs of excess fat. Apply the slather, if using, and the rub. Start the fire and bring the smoker to 275 degrees. Cook the ribs, meat side up at 275 degrees. Occasionally check the color and spritz. When the ribs get to the desired color (after about 3 hours), spray them with vinegar, then coat them lightly on both sides with the sauce. Tear off enough aluminum foil to comfortably wrap the ribs. Spritz the foil, then lightly coat it with the sauce. Place the ribs meat side down on the foil and wrap tightly. Return the ribs, meat side down, to the cooker and cook until tender. (Start checking after about 2 hours).

Let the ribs rest, then serve.

Remember the Lincoln Del?

21 Mar

I was sitting in a booth at the Lincoln Del with my friend Randee on the day they closed in 2000. It was a sad day eating my last Grilled Reuben. I grew up within walking distance of the original “Del” on Minnetonka Boulevard in St. Louis Park as it was called and remember saving my allowance so I could eat there on Saturday afternoons before taking in a matinee at the St. Louis Park Theatre. It’s hard to pinpoint what people loved about the Del – as everything, from the bakery counter to the restaurant was exceptional. Cakes, breads, deli sandwiches, soups ….the Del mastered them all.

Wendi Zelkin Rosenstein wrote a book commemorating her grandfather’s restaurant. The Lincoln Del Cookbook (2017) is packed with stories and recipes from the legendary Del. It had to have been a challenge trying to reconfigure the restaurant’s recipes for home use. And while I’ve read some complaints about certain recipes not working, I can share that the one for Beef Barley Soup with Dumplings is the perfect reenactment of that favorite!

With leftover corned beef (if you have been reading my blog, you know corned beef was on my menu for St. Patrick’s Day) – I decided to try the corned beef hash recipe – another of my Del favorites. I am including that recipe – and pictures of course – along with the adjustments I made. There are benefits to have been cooking for as many years as I have! The end result was spectacular! Not sure it was up to Lincoln Del standards – but nonetheless delicious!

Corned Beef Hash

¼ to ½ pound medium-fat corned beef, chopped into bite-size pieces

2 tablespoons canola oil

1 large onion, chopped

4 large baking potatoes, cooked, peeled and chopped (I baked only three potatoes and didn’t add the entire third one)

Salt and pepper (to taste – and do taste and season accordingly)

1 egg beaten

Wrap the sliced corned beef in foil and place in a 350 degree oven to warm for 5 minutes. (Not sure why this step is included but I just tossed the chopped corned beef in a bowl and microwaved it on high for a minute). Preheat 8-inch skillet (Seriously? Not nearly big enough; I used a 10-inch cast iron pan) over high heat, then add canola oil, onions and potatoes. Season to taste with salt and pepper. Cook potatoes until crispy on the bottom and sides (about 10 minutes). Add the warmed corned beef and beaten egg to the pan and mix well. Flip the hash to brown the other side (I flipped half at a time; if you have those skills, by all means flip the whole panful). Remove from heat, slip hash into an aluminum pie pan; place upside down on a plate, and use paper towel to press out any excess oil before serving. (I served it right from the pan with a poached egg on top – of course. Two tablespoons is not a lot of oil for that amount of ingredients – end result was not in the least bit greasy).

Do check out the book – on sale on line and in bookstores.

An everyday soufflé.

20 Mar

The Pandemic had us all scrambling to stock freezers and cupboards with food “just in case.” Quite sure that’s going to be my modus operandi going forward! In addition to packages of chicken breasts, steaks and other meats piled high in my freezer, my pantry is packed with canned tomatoes, beans, evaporated milk, chicken broth, tuna and salmon.

Canned salmon is one of those staples that can help you pull together a meal in very little time. I’ve made my share of salmon patties and salmon loaves but never a salmon soufflé. I found a recipe for this culinary newbie (at least for me) in Feed Me I’m Yours by Vicki Lansky (1977). I shared a recipe from one of Vicki’s later books in an earlier blog post. This particular book was her first, written by her and five other mothers, all members of the Childbirth Education Association of Minneapolis-St. Paul, a non-profit organization that prepares couples for childbirth. While baby and child-oriented, the recipes are great and the soufflé is delicious! The evaporated milk (another pantry staple) gives it a sweetness that kids like – but trust me this soufflé, served with a big salad was perfect for a Meatless Monday dinner for the grown-ups!

Salmon Soufflé

1 can (16 ounce) salmon

1 can (7 ¾ ounce) evaporated milk

2 tablespoons butter

3 tablespoons flour

¼ teaspoon salt

½ teaspoon dry mustard

4 eggs, separated

1 teaspoon Worcestershire (optional)

Drain salmon liquid into 8-ounce measure cup and add enough milk to make one cup. Pick over and flake salmon. In a saucepan, melt butter and blend in flour and salt and dry mustard. Gradually add milk and cook, stirring until thickened. Remove from heat, stir in beaten egg yolks, Worcestershire and salmon; cool. Beat egg whites until stiff and fold into mixture. Pour into buttered 2-quart soufflé or casserole dish and bake at 350 degrees for 45-50 minutes. Dust with paprika.

I’d Pop over for one of these any day!

19 Mar

Whether you ate them at Dayton’s, Marshall Field’s or Macy’s – those humungous airy popovers were a treat.

Macy’s State Street is the remaining restaurant of it’s kind. Not sure the infamous popover is still on the menu. I plan to check next time I’m in Chicago. I’m grateful that recipes for these eggy muffins make it possible to bake them at home. But let’s be honest, wouldn’t you prefer having that hot popover with honey butter delivered to your table for immediate gratification? I know I would. But thanks to a new popover pan from Nordic ware those popovers came out remarkably well!

This recipe is from The Marshall Field’s Cookbook (2006) which includes classic recipes from the Field’s Culinary Council (predecessor to what is now Macy’s Culinary Council).

Popovers

5 large eggs

1⅔ cups whole milk

5 tablespoons unsalted butter, melted

1⅔ cups all-purpose flour

½ teaspoon salt

Preheat oven to 400 degrees. Lightly coat popover pan or deep muffin tin with nonstick spray and heat the pans in the oven for at least 15 minutes. Crack the eggs into a bowl and beat using an electric mixer until frothy. Add the milk and butter and mix well. Add the flour and salt and mix just to combine.

Divide the batter among the preheated pan openings, filling each cup just under half full. Bake for 30 to 40 minutes, until puffy and well browned. Remove from the pan and serve warm (with whipped honey butter if desired – recipe follows). The finished popovers should pull away from the pan easily and feel light to the touch.

Whipped honey butter

In a bowl, whip ½ pound butter and 2 tablespoons honey using an electric mixer until light and fluffy.

No I’m not Irish but, continued….

18 Mar

Happy to share yesterday’s corned beef and all the fixin’s were delicious. It’s the meal that keeps on giving. I always pick up three or four corned beef briskets every March when they are on sale for St. Patrick’s Day. I prefer the flat cut. It’s less fatty and produces better slices. And as far as I’m concerned, bigger is better – because leftover corned beef makes wonderful sandwiches (on caraway rye, of course) and fabulous corned beef hash (pan-fried with potatoes and topped with an egg).

I highly recommend using a slow cooker to make corned beef. The long, slow cooking process tenderizes the meat making it fork tender. Pile veggies on the bottom of the cooker with the corned beef on top. And yes, do use that small packet of pickling spices that comes with the corned beef! If you’re going veggie-free, place a couple of cut up carrots and/or onions on the bottom of the slow cooker so the meat isn’t totally submerged in liquid. Allow for at least 8 hours of cooking time on low. I prep my veggies the night before ready to throw them all in the cooker bright and early.

This recipe is from The Gourmet Slow Cooker by Lynn Alley (2003), subtitled Simple and Sophisticated Meals from Around the World. Attention slow cooker aficionados….you can still find this cookbook online and the recipes are excellent!

Corned Beef and Cabbage

3 (or thereabouts) pounds corned beef

3 large carrots, peeled and cut into bite-sized pieces

3 large potatoes, peeled and cut into bite-sized pieces

2 large yellow onions, quartered

1 green cabbage, cored and cut into 8 pieces

1 sprig thyme

1 bay leaf

2 cups water ( recommend half as much liquid)

1 cup Guinness Stout or Harp Lager (optional)

In a slow cooker, combine the corned beef, carrots, potatoes, onions, cabbage, thyme and bay leaf. Add the water and beer (optional). Cover and cook on low for 8 to 10 hours until the meat and vegetables are very tender. Remove and discard the thyme and bay leaf.

Transfer beef to a cutting board and cut into thin slices. Divide the meat among shallow bowls, surround with the vegetables and spoon some of the cooking liquid over the top. Serve immediately.