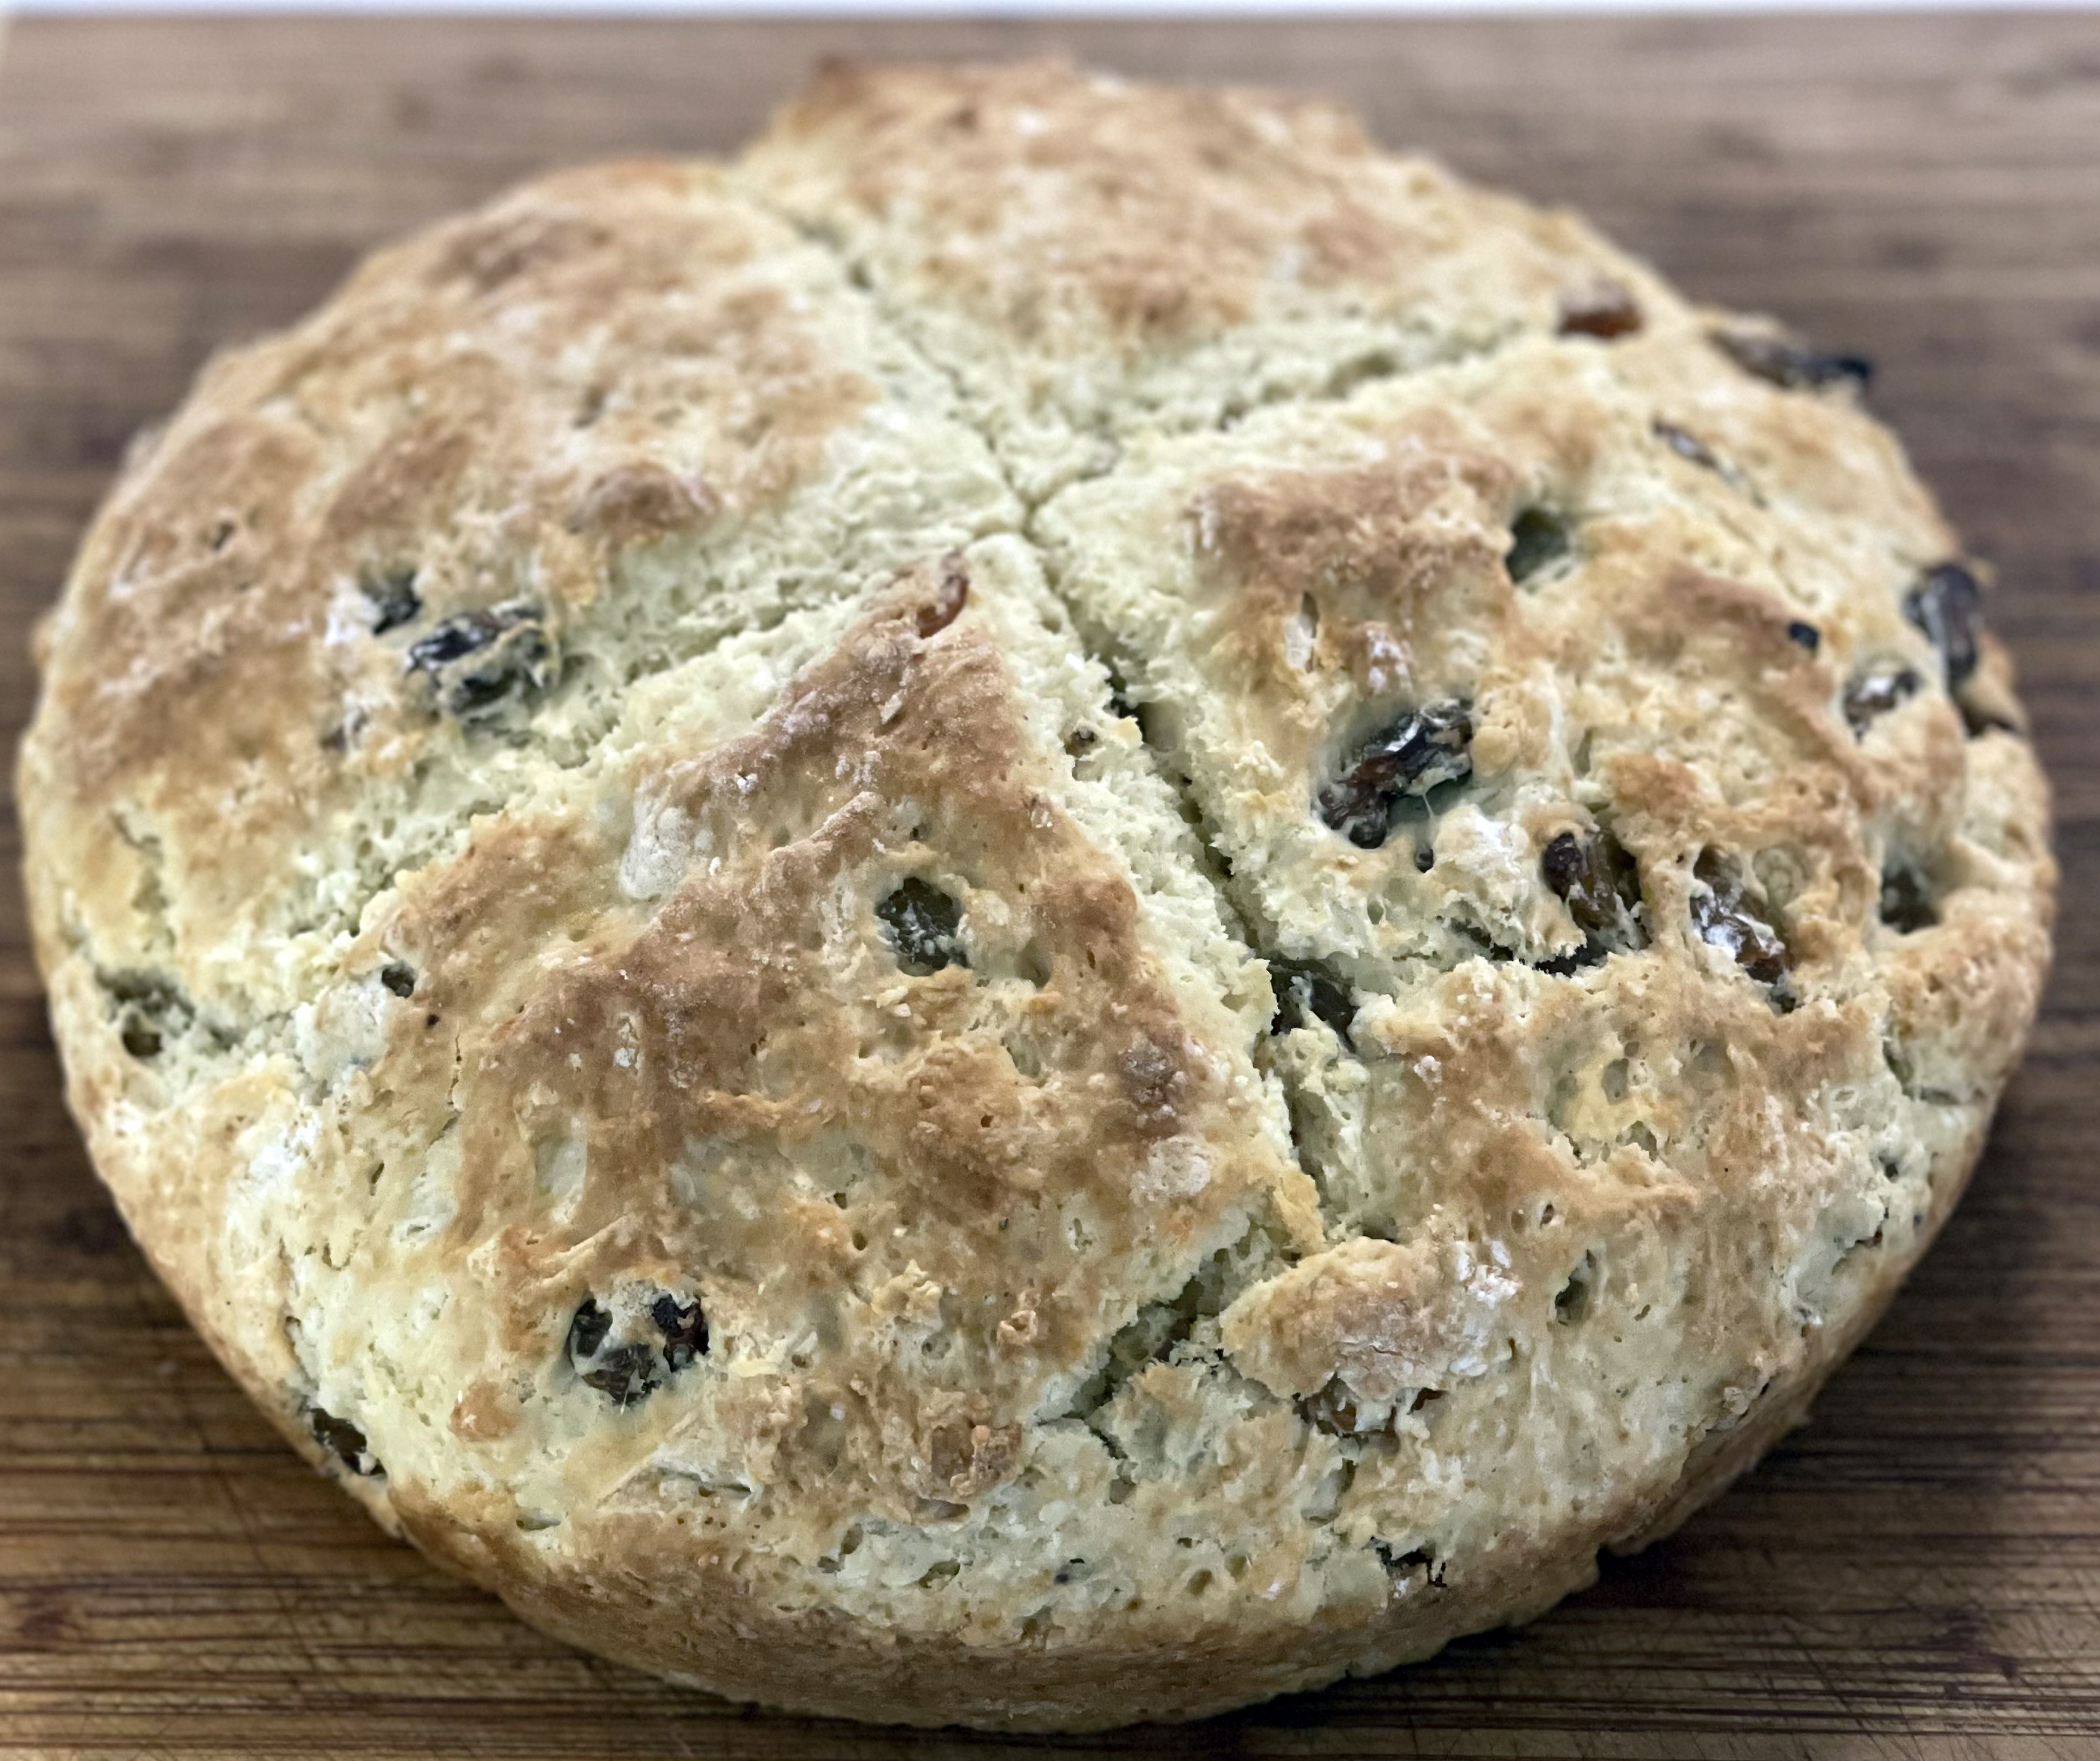
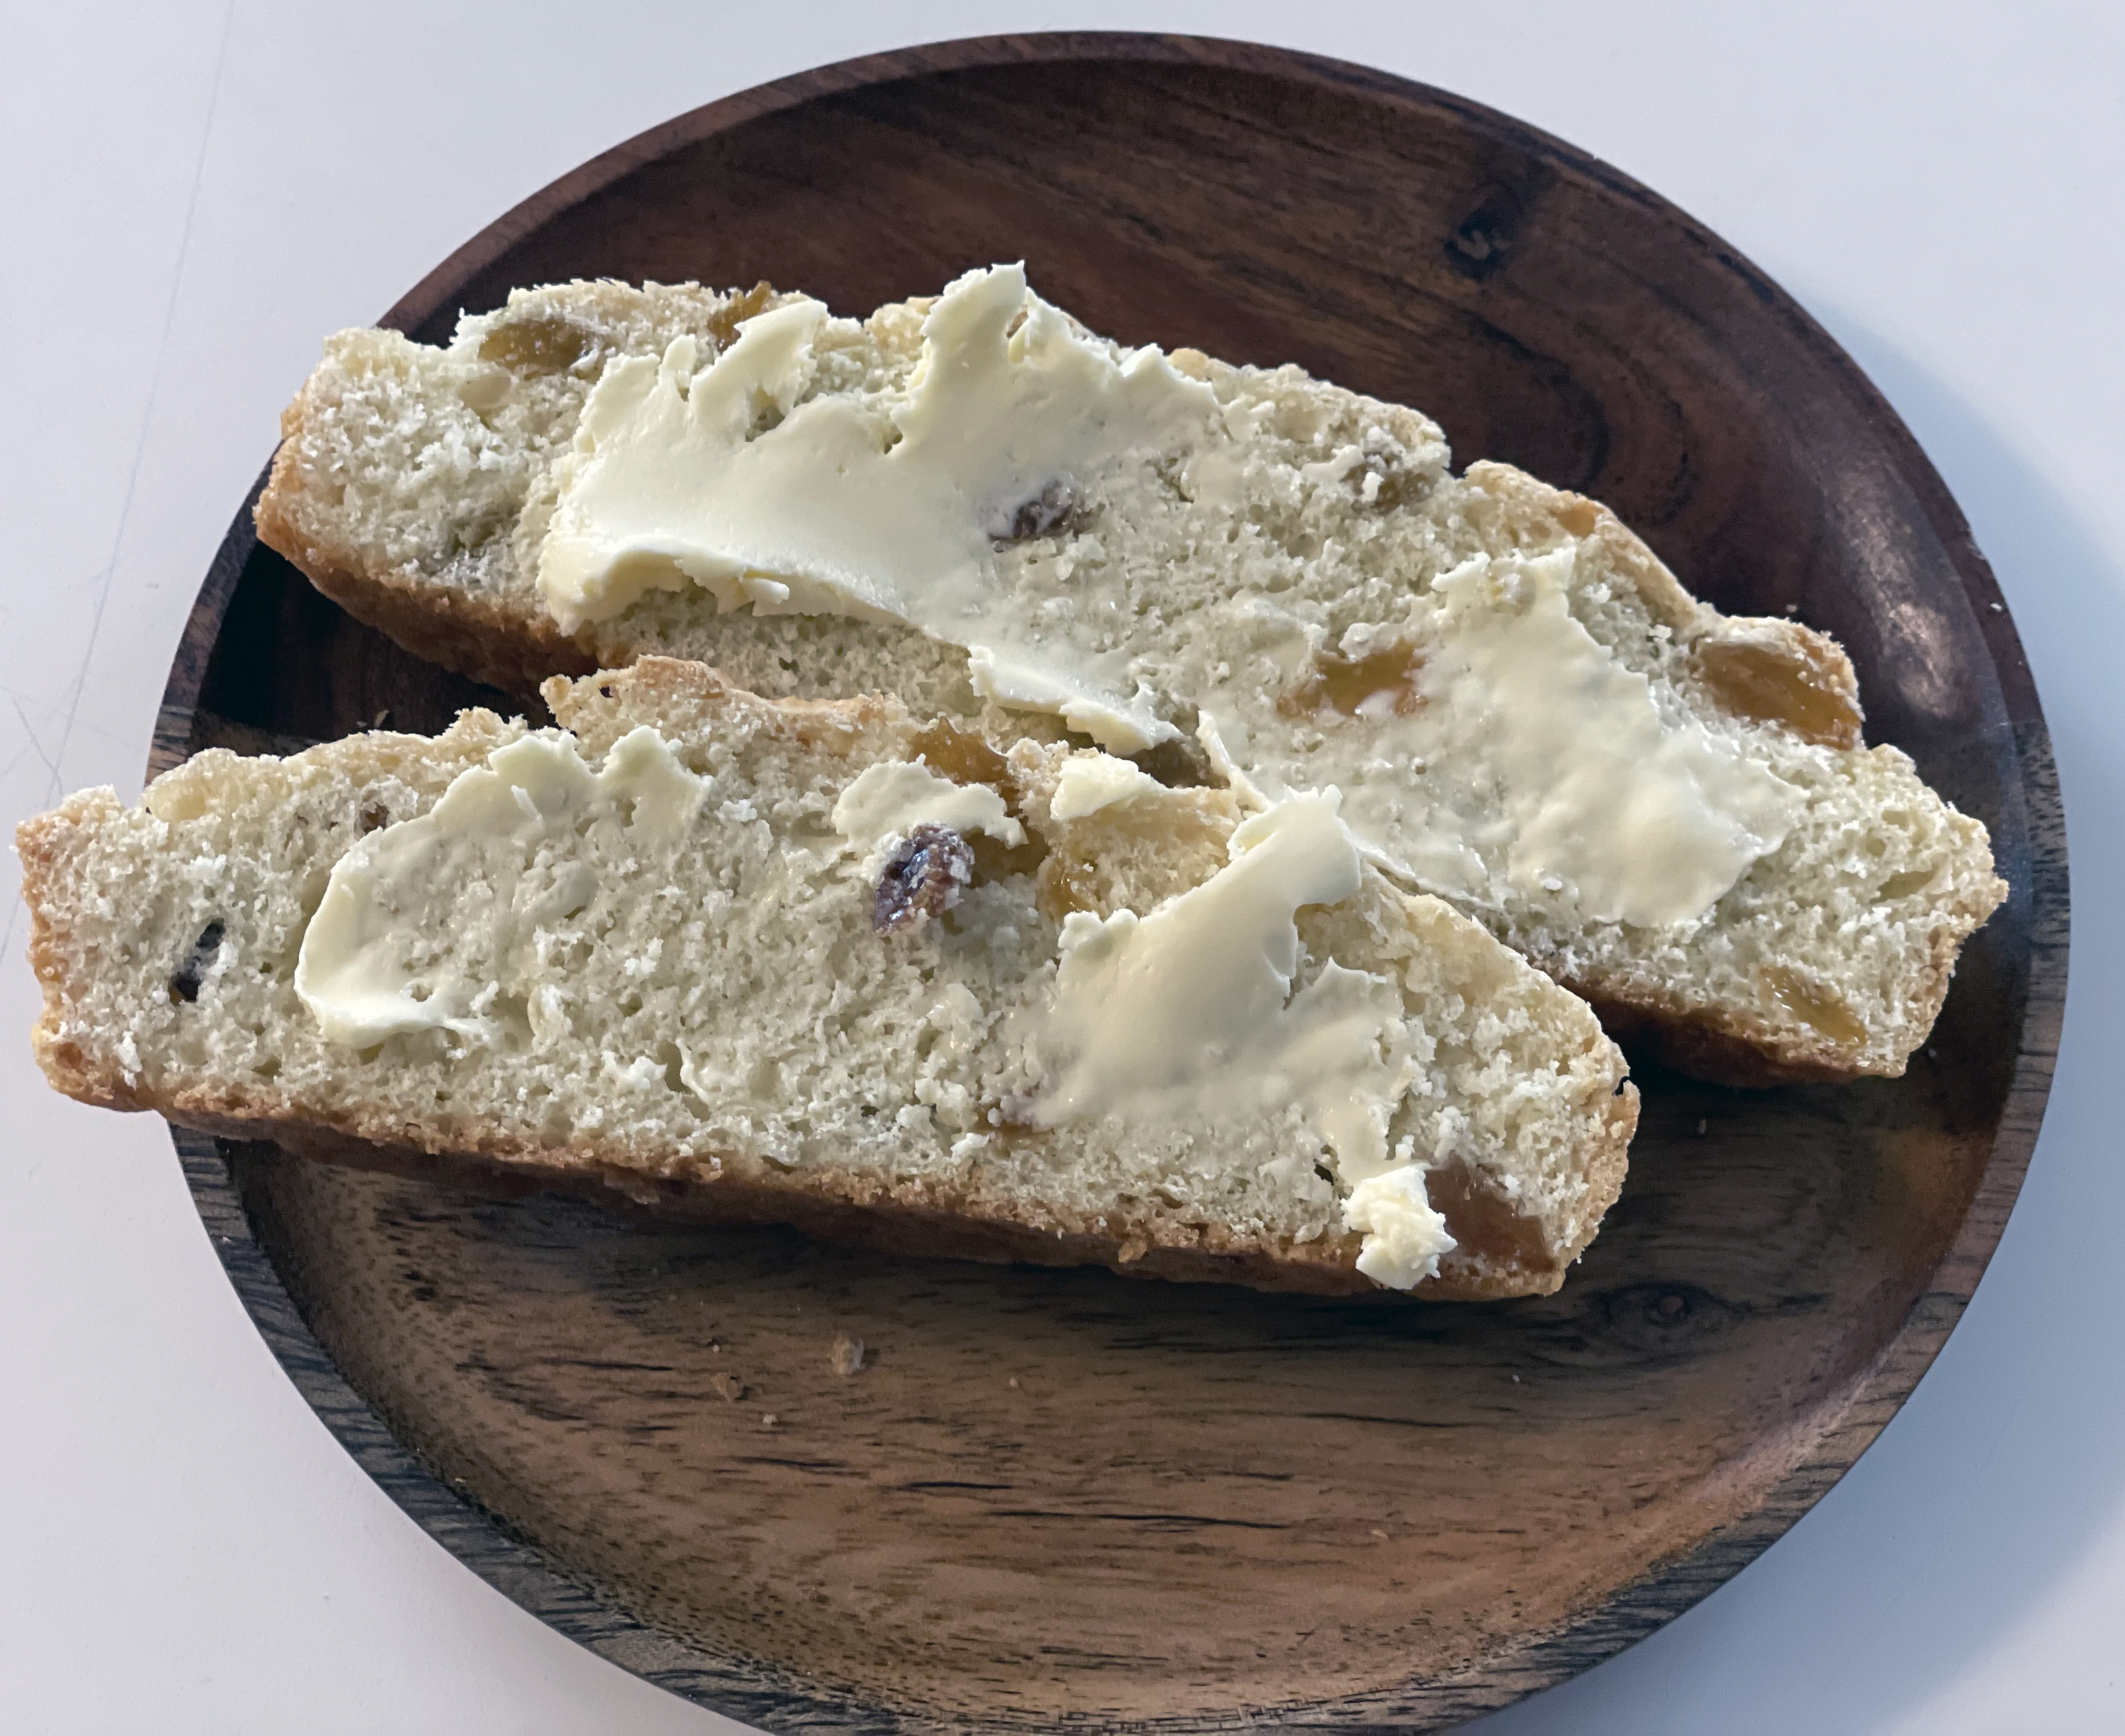
I think St. Patrick’s Day should be a national holiday. The food alone makes it worth celebrating! I have prepared corned beef (and all the trimmings) plus Irish Soda Bread for 40+ years every March 17. And today is no exception. Today’s recipe I found in Sunset Favorite Recipes I (1986). It’s a little different than the recipe I traditionally make with caraway seeds. But I love this rendition – it produced two great-looking loaves – probably because the cake pans help maintain the round shape. Legend has it that a cross on top of the bread was done for superstitious reasons; families believed it would ward off evil and protect the household. This is a delicious bread to serve for any occasion!
And yes, tomorrow I will share my corned beef recipe (it’s still cooking).
Irish Soda Bread
4 cups regular all-purpose flour (or use 2 cups whole wheat flour and 2 cups regular flour)
1 teaspoon salt
3 teaspoons baking powder
1 teaspoon soda
¼ cup sugar (optional – but I recommend it)
⅛ teaspoon cardamom or coriander (optional)
¼ cup (⅛ pound) butter or margarine
2 cups currants or seedless raisins (optional)
1 egg
1¾ cups buttermilk (or regular milk plus 5 teaspoons vinegar)
Combine in large bowl the flour, salt, baking powder, soda, sugar and spice, if used. Add butter or margarine and cut in with a pastry blender or two knives until crumbly. Mix in currants if used. Beat egg slightly and mix with buttermilk; add to dry ingredients and stir until blended. Turn out on a floured board and knead until smooth, 2 or 3 minutes.
Divide the dough in half, and shape each into a round loaf; place each loaf in an 8-inch cake or pie pan. Press until dough fills pans. With a sharp knife, cut crosses on tops of loaves, about ½ inch deep in the middle. Bake in a 375 degree oven for 35 to 40 minutes. Serve warm or cold,
Minneapolis is home to the Nordic Ware Company – manufacturer of bakeware, kitchen tools and more. The company is best known for creating the bundt pan after being approached by a woman seeking the pan she used in her native Germany. The tubular cast iron cake pan debuted in 1950 but it wasn’t until 1966 that the bundt pan gained worldwide notice – after one of the winning recipes in the Pillsbury Bake Off that year was a bundt cake – namely the Tunnel of Fudge. Even though baking is not my forte, I couldn’t resist replicating that award winning recipe and I found a version in Bundt Cake Bliss (2007) by Susanna Short (a gift from my friend Randee). It’s a rich cake but totally worth the effort. Not sure how it happens but as the cake settles, it creates a “tunnel of fudge” in every bite. As is always the case with baking, do follow the directions!
Tunnel of Fudge Cake
Cake
2¼ cups flour
¾ cup cocoa powder
1¾ cup sugar
1¾ cup butter, softened
6 eggs
2 cups confectioners’ sugar
2 cups chopped walnuts or pecans (optional)
¾ cup confectioner’s sugar
Glaze
¼ cup cocoa powder
4 to 6 teaspoons of milk or half-and-half
Heat oven to 350 degrees. Prepare a 12-cup Bundt pan using butter and flour or Baker’s Joy and set aside. Combine flour and cocoa powder and set aside. In a large bowl, cream sugar and butter until light and fluffy. Add eggs one at a time beating well after each addition. Gradually add 2 cups confectioners’ sugar and mix until thoroughly incorporated. Stir in flour mixture by hand until well blended. Gently stir in the nuts. Spoon the rather thick batter into the prepared pan.
Bake for 45 to 50 minutes or until the top is set and edges are beginning to pull away from sides of pan. Cool upright in pan on wire rack for 1½ hours to allow the fudge to set. Invert onto serving plate to cool thoroughly.
To make the glaze, combine confectioners’ sugar and cocoa powder with 4 tablespoons of milk or half and half. Mix thoroughly and add only enough milk to create a smooth, but pourable glaze. Spoon or brush the glaze over the top of the cake, allowing some to run down sides.
Note: I am fortunate to live in Minneapolis, home of Nordic Ware and more importantly, a factory outlet store!
I continue to explore new and different ways to prepare the same ol’ veggies. And by being open-minded, I tried a recipe that seemed a little sketchy. I found this unique preparation for a whole cauliflower in the The New York Times Cookbook (1961) by Craig Claiborne. I actually make a similar preparation – taught to me by my late great-aunt, Nellie. For that version, I microwave the whole cauliflower until tender and then “frost” it with a white sauce and sprinkle with dried bread crumbs and grated Cheddar Cheese and run it under a broiler until the cheese melts. From this recipe I discovered boiling a whole cauliflower is a better preparation. The cauliflower was just the right texture and full-flavored thanks to the salt and lemon juice. Don’t think I will ever microwave that veggie again! Polonaise refers to any dish topped with breadcrumbs and chopped hard-cooked egg! Highly recommend this recipe!
Cauliflower Polonaise
Trim the cauliflower, removing outer leaves and part of the core and cutting off any blemishes. Score the core with a knife to facilitate cooking. Place in a kettle of boiling salted water to cover and add one teaspoon of lemon juice. Cover and simmer 25 to 35 minutes, or until just tender when tested with a fork. Do not overcook. Drain. Place in a serving dish and cover lightly with ½ cup fresh breadcrumbs that have been browned in two tablespoons butter. Sprinkle with one tablespoon chopped hard-cooked egg and one teaspoon chopped parsley.
This classic NY Times Cookbook is still available online and in bookstores.
I love tackling a recipe by a great chef! Yes sometimes it’s intimidating but that’s part of the fun! One of my favorite cookbooks is Great Gatherings (2007) by the Macy’s Culinary Council. Hoping that the Council will be front and center once again when the pandemic winds down because they are the source of many a tasty dish!
The book includes menus for various gatherings, e.g. brunch, birthday party, drop-in dinner etc. by each of the Council’s 16 celebrity chefs, the likes of Cat Cora, Tyler Florence, Nancy Silverton, Wolfgang Puck, Marcus Samuelsson and more. This recipe is from Rick Bayless’s Fiesta for Friends menu. Bayless is a well-known chef, restaurateur, cookbook author and TV personality. Warning, the chimichurri is hot! If you’re not into spicy, cut back on those serrano chiles.
1¼ pounds large raw shrimp, peeled and deveined, with tail section of shell intact
To make the chimichurri sauce, set a dry skillet over medium heat. Lay the unpeeled garlic cloves and chilies in the pan. Roast, turning frequently, for about 10 minutes for the chiles and 15 for the garlic, or until soft and blotchy brown in spots. Let cool until they can be handled and slip the skins off the garlic and pull the stems off the chiles and roughly chop (no need to remove the seeds). Place in a food processor along with the cilantro, parsley, olive oil and 2 generous teaspoons salt. Process until nearly smooth (it will be pasty). Remove ⅓ cup of the chimichurri sauce to a small bowl. Stir in the water. Cover and refrigerate for later use.
To prepare the shrimp, thread the shrimp onto 2 parallel metal skewers (or bamboo skewers that have been soaked in water for 30 minutes). Brush the remaining chimichurri over both sides of the shrimp, cover and refrigerate for 30 minutes for the spicy, herby flavors to meld into the shrimp.
Preheat a gas grill to medium-high or light a charcoal fire and let burn until the charcoal is covered with gray ash but still very hot. Alternatively, heat a stove-top grill pan over medium-high heat. When the grill grate or grill pan is quite hot, lay the shrimp skewers on it and cook, turning once, for 2 to 3 minutes per side, or until the shrimp have turned from translucent to milky white.
Serve the shrimp either warm or at room temperature, drizzled with (or accompanied by) the reserved sauce.
We’re what you might call a potato-centric household. It’s a rare night that potatoes of some sort aren’t on the plate or platter – so I’m always looking for different preparations for all types of spuds. Today’s recipe for sweet potato fries is one I found in The Art of Convection (2003); it’s a convection cookbook from back when I had a tabletop convection oven. I didn’t realize I still had it in my collection. But I’m glad I found it because an air fryer (an essential tool in my kitchen) produces similar results to that of a convection oven – circulating hot air creating “fried” foods that taste fried but don’t require that deepfat fryer or a ton of oil. I’m providing directions on making these sweet tators for convection oven, air fryer and conventional oven preparation!
Sweet Potato Fries with Garlic and Herbs
1 1/2 pounds sweet potatoes, peeled and cut into French fry-style strips (or leave the peels on, your choice!)
1 teaspoon minced garlic
2 tablespoons extra-virgin olive oil
2 tablespoons chopped flat leaf parsley
1 teaspoon chopped fresh thyme
1 teaspoon kosher salt
In a large bowl, toss sweet potato strips with olive oil and garlic. If using a convection or conventional oven – spray two oven-proof cooling racks with non-stick spray. Place the racks over two baking sheets. Spread potatoes on the cooking rack in a single layer. Convect roast at 425 degrees until tender and golden brown, about 15-18 minutes; for conventional oven, bake 20 to 25 minutes. If using an air fryer, prepare fries in two batches. Spray insert with non-stick spray, add potatoes and spray potatoes with additional spray. Cook at 400 degrees 12 – 15 minutes (or until browned and crisp). Shake tray midway through baking time.
Transfer to serving platter. Sprinkle with salt, parsley and thyme. Serve immediately.
I’m fully vaccinated but still reluctant to venture inside a restaurant. So I continue to perfect my bartending skills so I can enjoy an occasional cocktail Chez Sandler. I found my latest conquest in Food & Wine’s 2007 annual cookbook. It is a drink which originated in Trader Vic’s Polynesian restaurants – and is the perfect tropical drink to remind you of happier times on a beach. It’s the Mai Tai – which in Tahitian means “very good.” And yes, I would agree it is a very good cocktail!
I headed to the liquor store for the necessary components like I always do. What I didn’t expect was how difficult it was going to be to find one key ingredient. Finally found the elusive almond syrup in the fifth liquor store – thank you Haskell’s. Better known as orgeat syrup, it gives the drink it’s distinctive bitter taste. I’ve made the drink twice now and discovered crushed ice, not ice cubes, is essential. No ice crusher? Use your blender to crush ice or a rolling pin or mallet to crush ice cubes in a sealable plastic bag. And of course that garnish offers a certain authenticity! Treat yourself!
Trader Vic’s Mai Tai
1½ ounces aged Jamaican rum
½ ounce orange curacao
1 ounce fresh lime juice
½ ounce almond syrup
¼ ounce Simple Syrup* to taste
Mint sprig (optional) for garnish
Maraschino cherry, for garnish
In a cocktail shaker filled with crushed ice, shake the rum, curacao, lime juice and almond and simple syrups well and strain over crushed ice. Garnish with the mint spring and cherry.
Makes one cocktail
*Sure you buy simple syrup but WHY?? Simply combine equal parts sugar and water in a saucepan and stir over high heat until the sugar dissolves. I keep a small container in my frig at all times – ready for mixing!
An earlier attempt at baking for this blog failed miserably this week. I tried my hand at making fortune cookies. Seemed so simple until I started rolling out the dough and tried to fold flimsy cylinders of dough into an acceptable shape. Two and half hours and two sticks of butter, flour, sugar, etc. later – I threw the whole mess in the garbage.
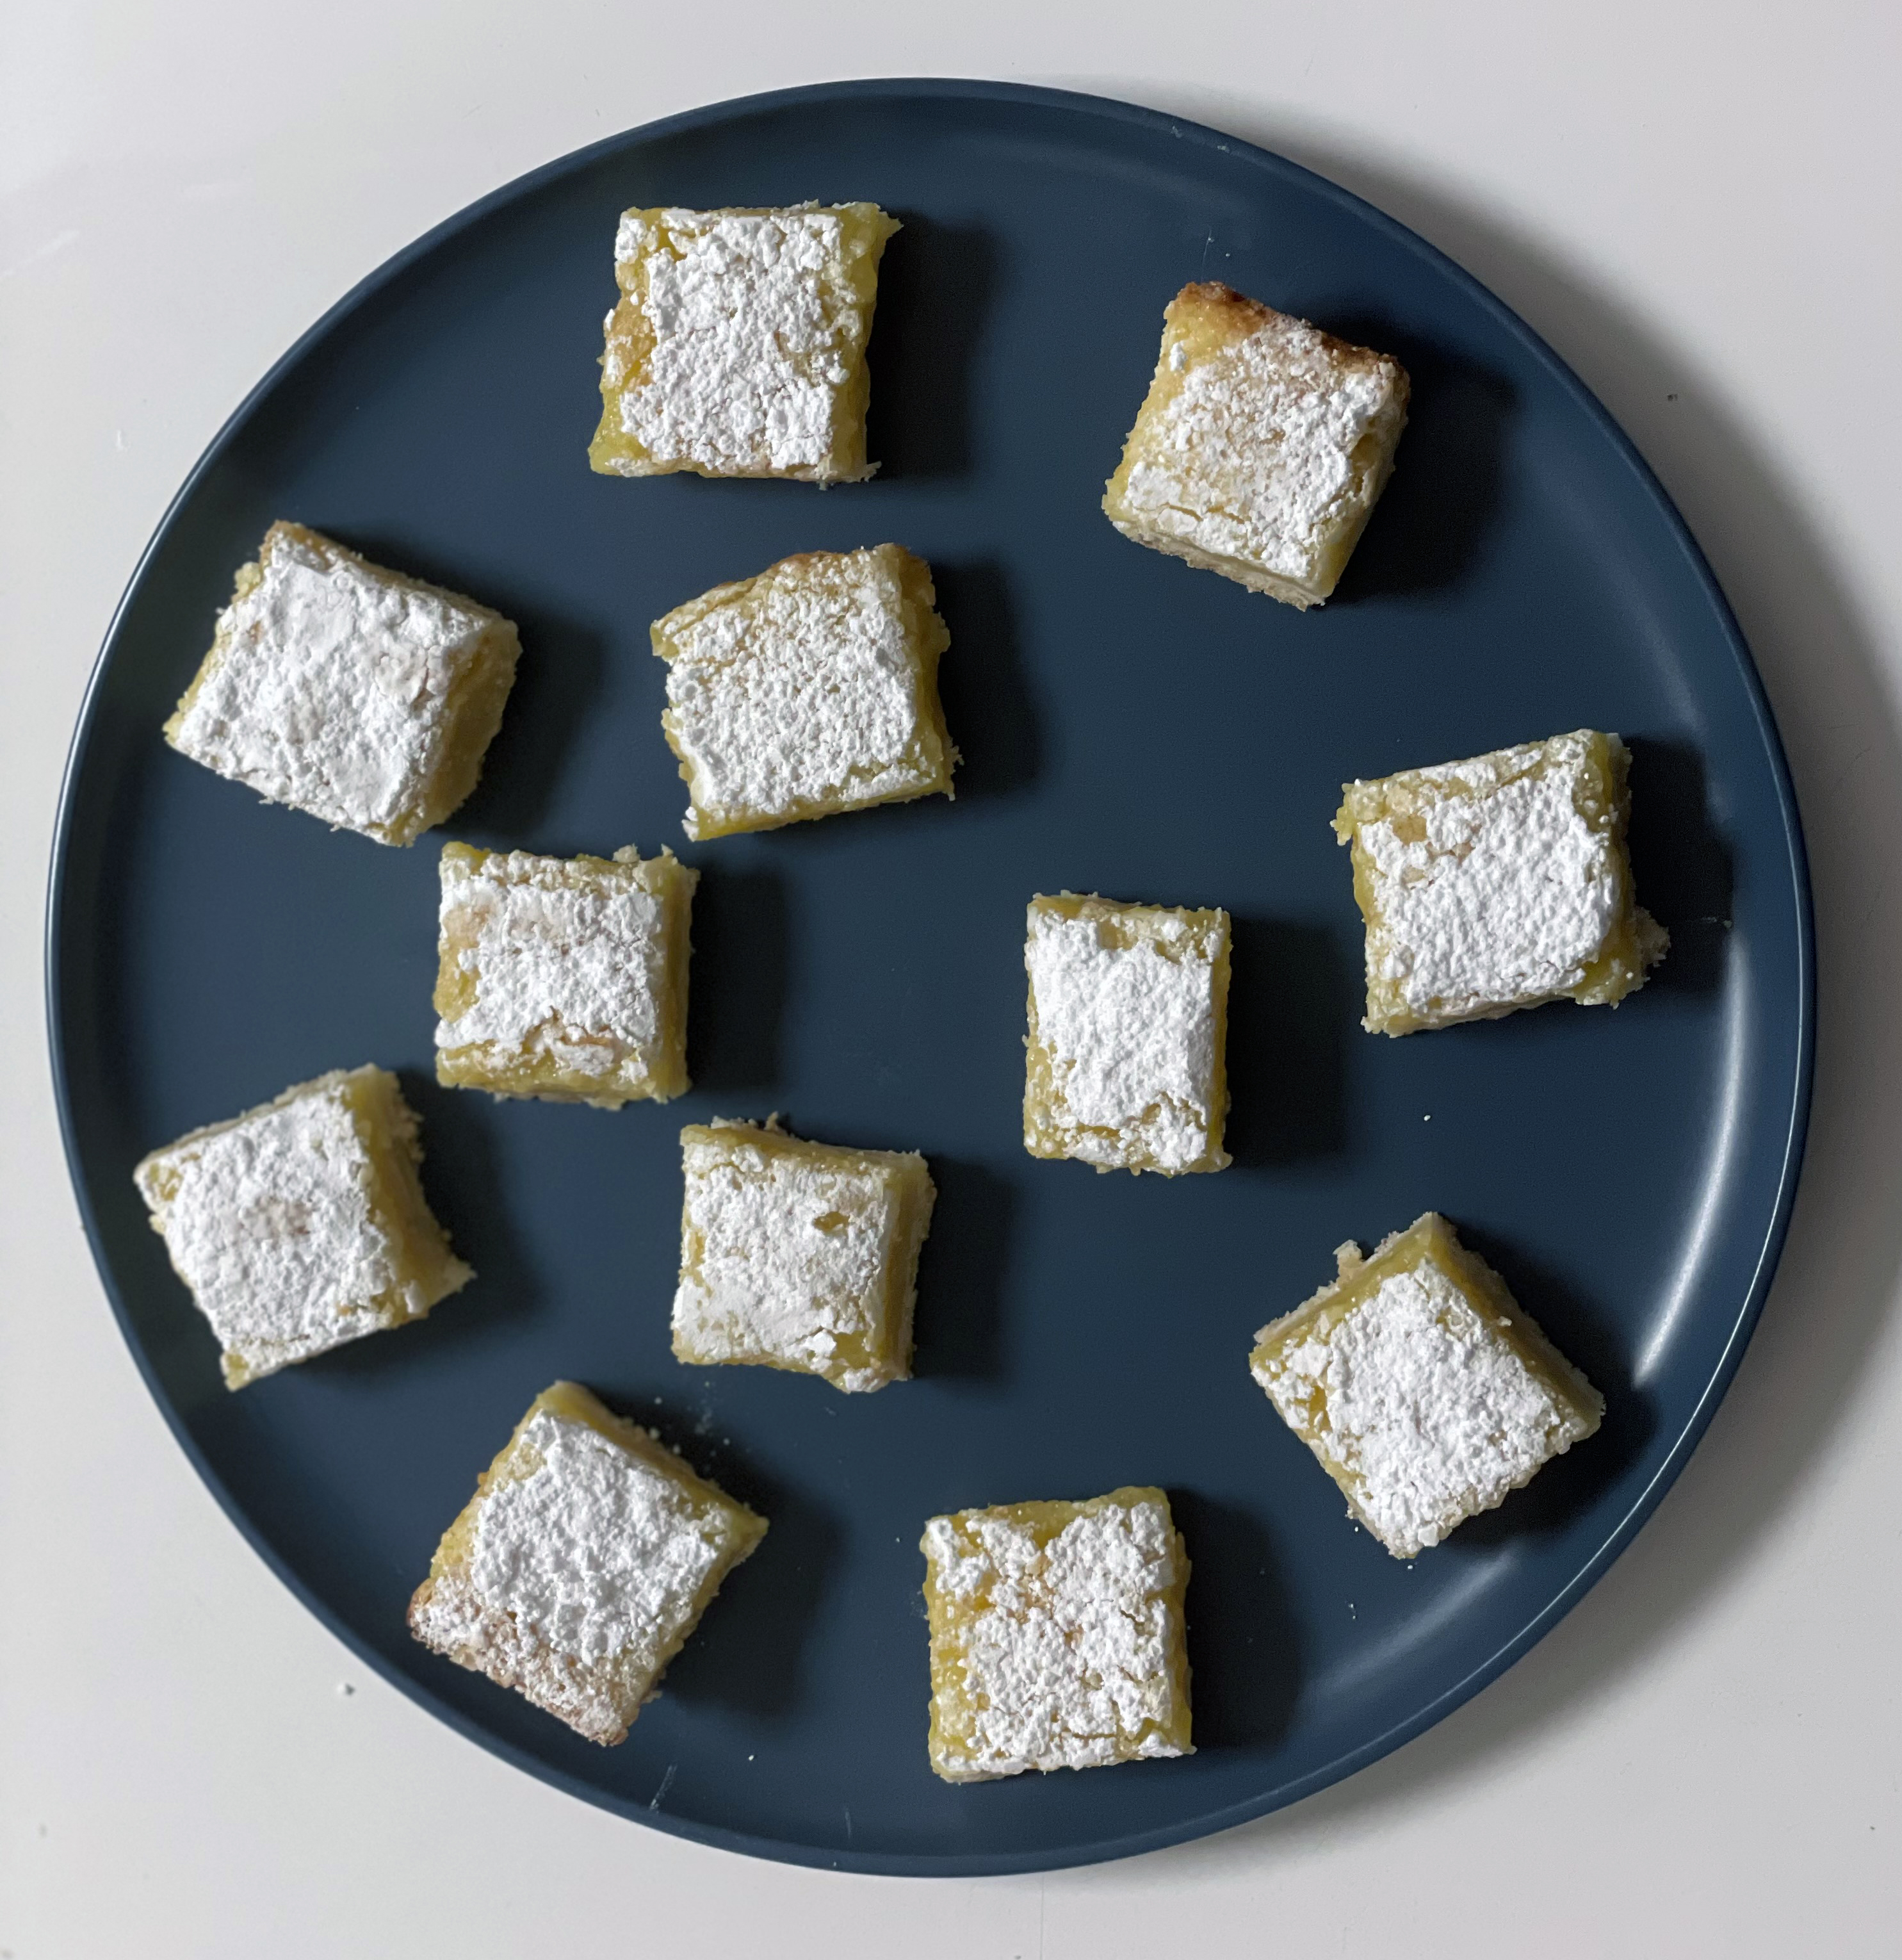
Scrounging in my refrigerator for ingredients for dinner, I took note of the bag of lemons on the shelf. I always have a bags of lemons and limes on hand – and had an a ha moment. When life gives you lemons….. make lemon bars! I have a tried and true recipe from my Kansas City days, but opted to try a slightly different recipe I found in Cooking in Minnesota (1976)from the kitchens of Twin City Home Economists in Homemaking. I was active at one time in the Twin City Home Economists in Business group – and remember purchasing this cookbook at a joint meeting many years ago. Again, it’s another one of those cookbooks chock full of tried and true recipes – even better because this group really knows about cooking and baking. While long out of print, you can find copies on Ebay from time to time.
Note: Refrigerate a couple of hours to allow layers to meld and harden before slicing into bite-size bars that practically explode in your mouth with tart lemon flavor!
Lemon Bars
2 cups all-purpose flour
1 cup butter, softened
½ cup powdered sugar
4 eggs
2 cups granulated sugar
Dash of salt
Juice of 2 lemons (5 tablespoons)
¼ cup flour
1 teaspoon baking powder
Powdered sugar
Heat oven to 350 degrees. Combine flour, butter and ½ cup powdered sugar. Mix thoroughly (I did I with a stand mixer) and press into 13 x 9 x 2-inch pan. Bake 20 minutes. Meanwhile, mix eggs, granulated sugar, salt and lemon juice. Fold in ¼ cup flour and baking powder. Pour onto hot crust; bake 25 minutes longer. Cool; cut into squares and sprinkle with powdered sugar.
Tip of the hat to Ariene Dohrman, Helen Pye who are credited in the book for contributing this recipe
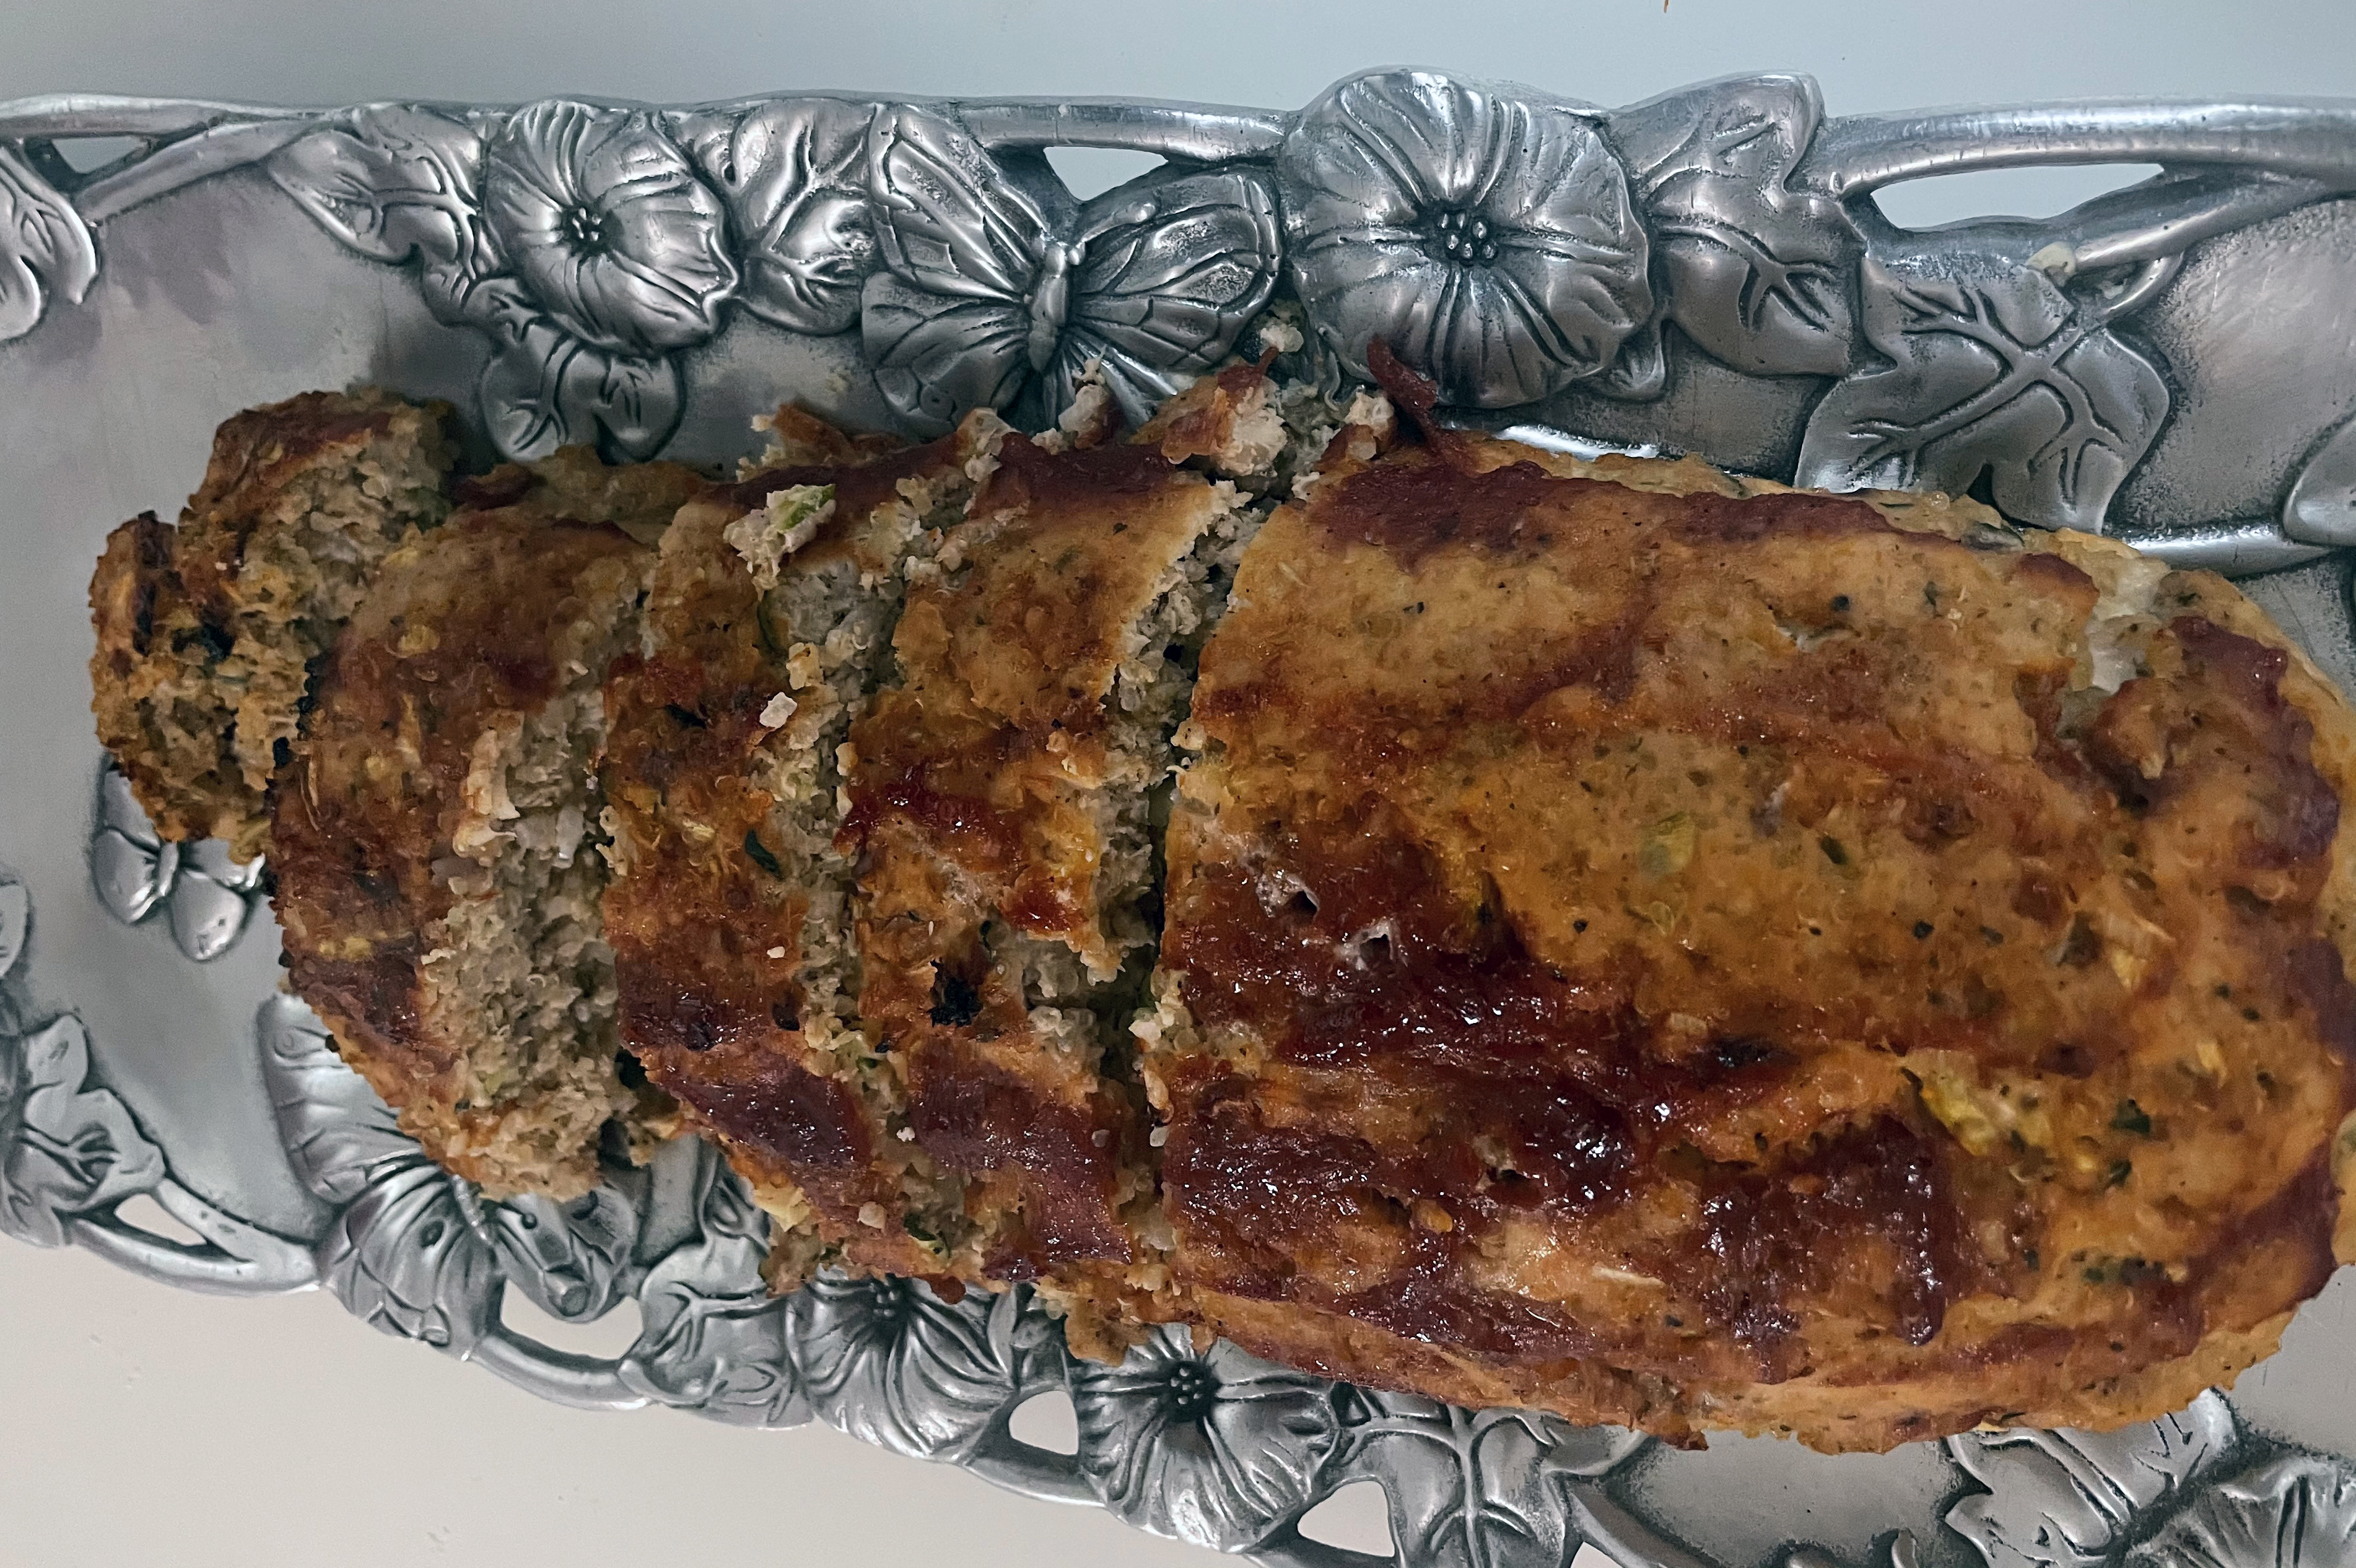
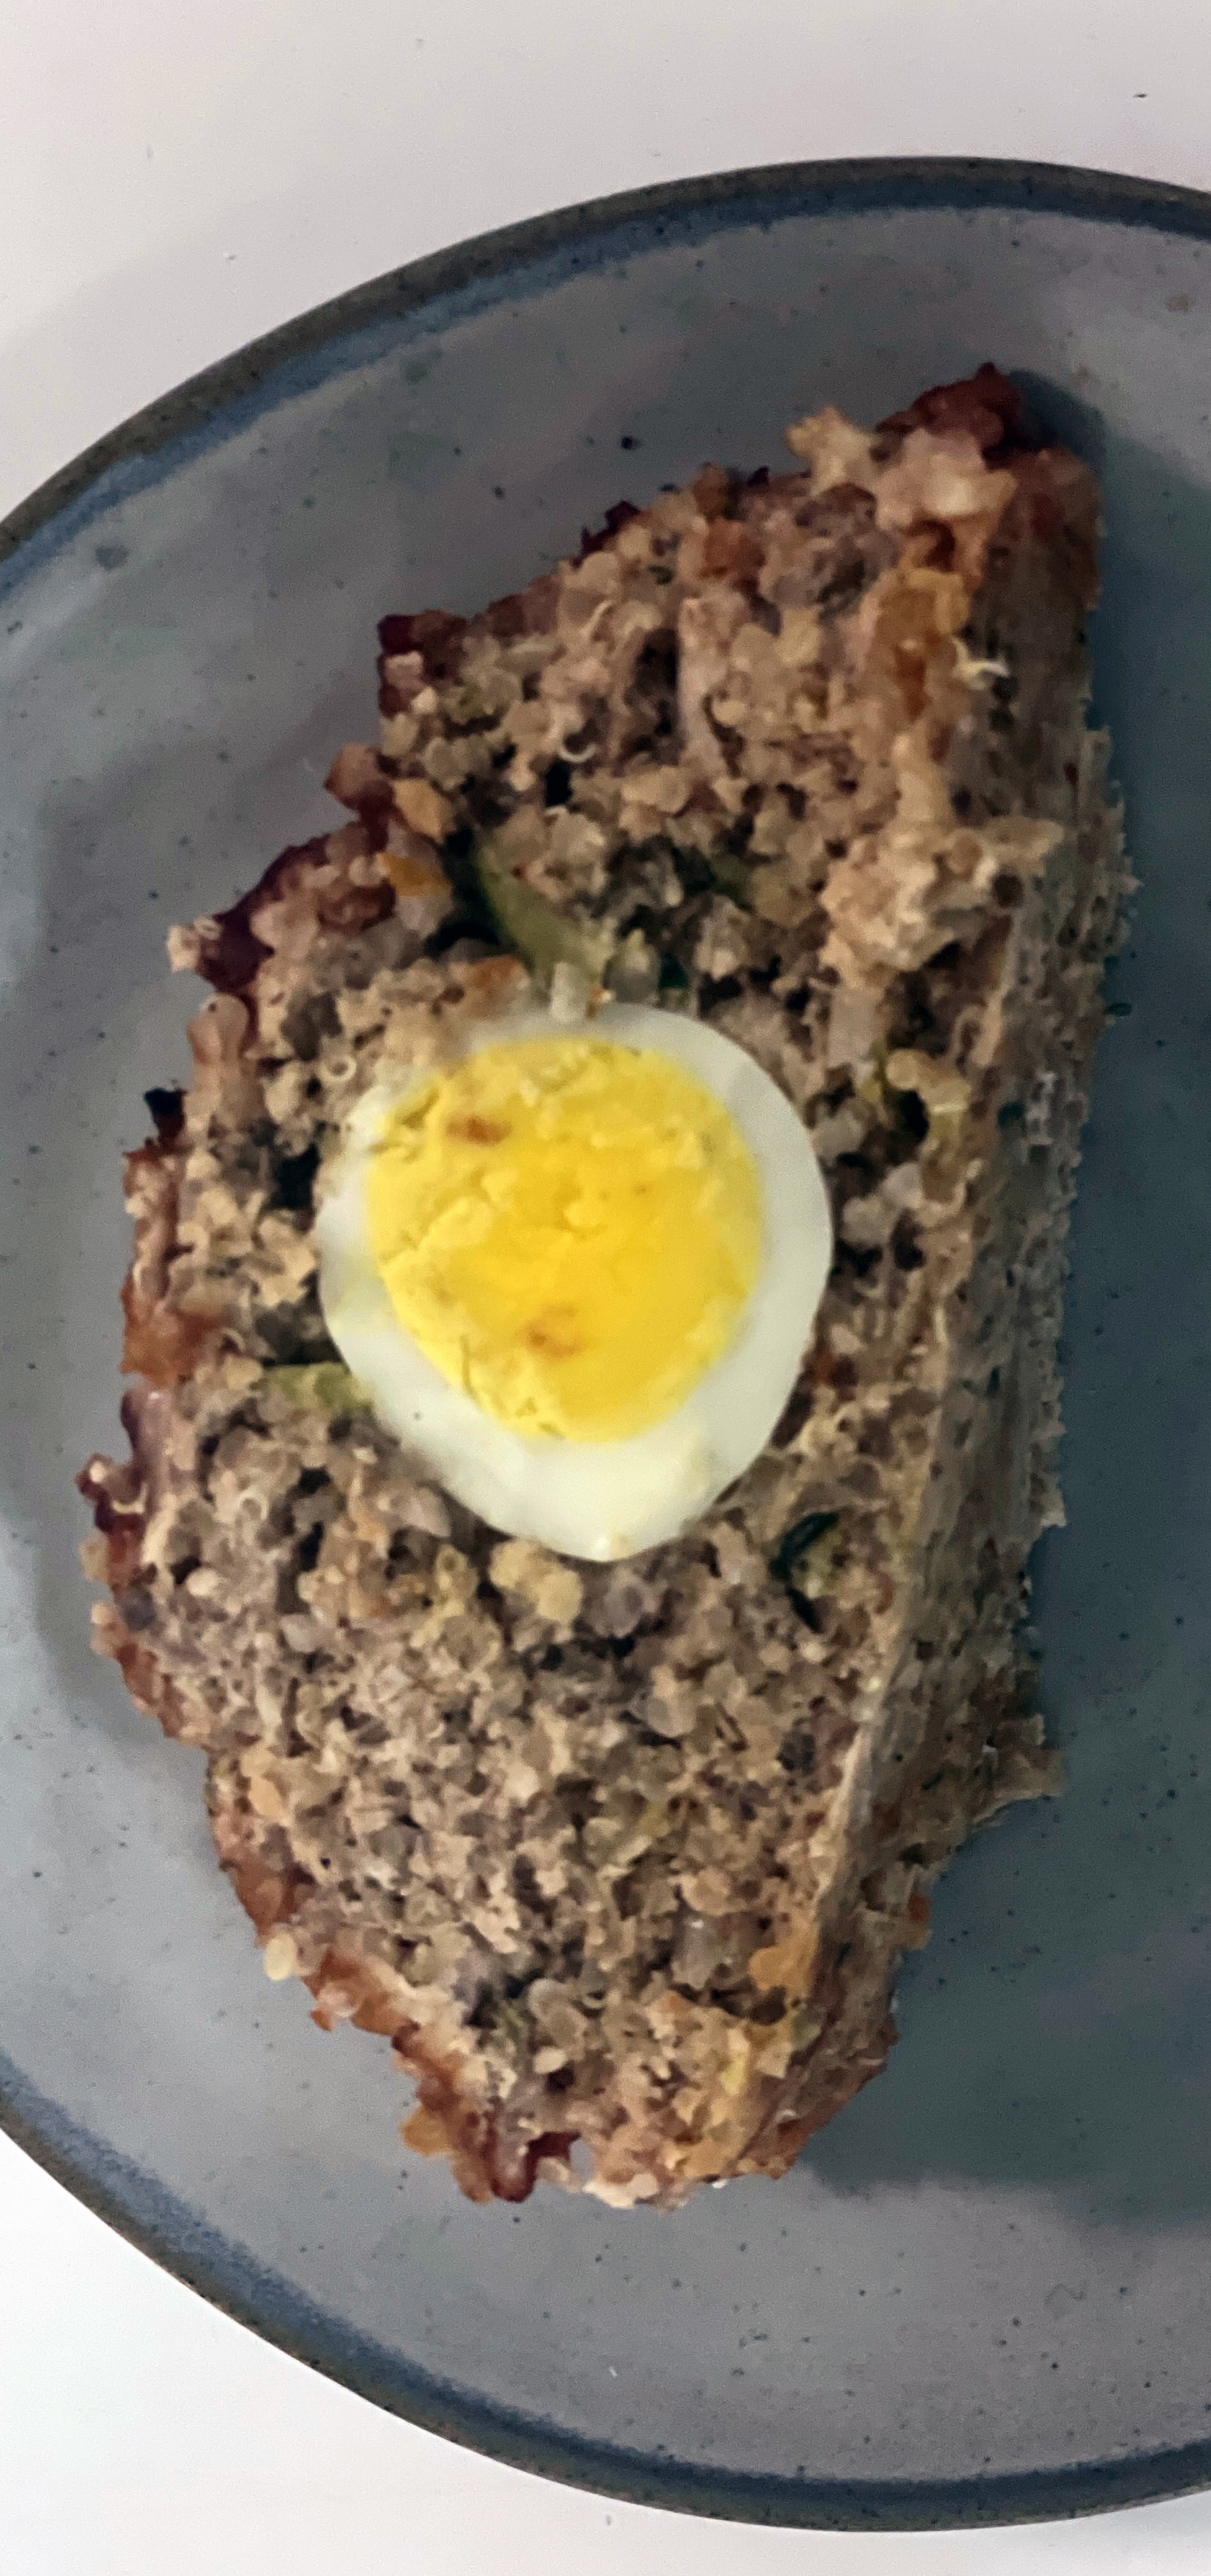
For nearly 60 years WW (formerly known as Weight Watchers) has been helping folks lose weight and to eat healthier. I speak from experience as it worked for me. And what helped were the delicious recipes the company provides on their website, app and in the cookbooks they sell. This recipe is from Cook Up Comfort (2018) created by Chef Eric Greenspan, a well-known Los Angeles restaurateur and WW brand ambassador. It is a wonderful take on the traditional meatloaf – jam-packed with veggies and quinoa. Do read the turkey package carefully to make sure you are purchasing the “breast” meat and not just lean turkey. And if you prepare it the night before – like I did – you’ll need to allow the meatloaf to cook at least 20 minutes longer.
This WW cookbook is available online or can be purchased in WW studios around the country.
Turkey and Quinoa Meat Loaf
½ cup quinoa, rinsed well
1 large zucchini, shredded
2 large egg whites
1 small onion, finely chopped
1 tablespoon fresh parsley
1 teaspoon Italian seasoning blend
½ cup chili sauce or ketchup
½ teaspoon salt
½ teaspoon black pepper
1 pound ground skinless turkey breast
Cook quinoa according to package directions. Fluff with fork, let cool slightly. Meanwhile, preheat oven to 375 degrees. Line bottom of 9 x 13-inch baking pan with parchment paper.
Squeeze zucchini dry; combine in large bowl with egg whites, onion, parsley, Italian seasoning, ¼ cup chili sauce and the salt and pepper. Add turkey and quinoa and mix well. Transfer mixture to baking pan; shape into 5 X 11-inch loaf. Brush remaining ¼ cup chili sauce over loaf. Bake until instant-read thermometer inserted into center of meat loaf registers 165 degrees, 50 – 55 minutes (or longer). Let stand 5 minutes. Cut into 6 slices to serve.
Note: I always tuck in a hard-cooked egg or two into meatloaf – something my mother did as well!
I remember how excited we were to have our first microwave oven. I received a Christmas bonus in December 1981 just months before the birth of my first son – and friends convinced me a microwave was essential to warm baby bottles. I remember the first night home from the hospital and my mother mistakenly entered 3:00 instead of :30 – and the bottle exploded! She went home.
It was a Litton microwave and it was so large it required its own cart in the corner of the kitchen. Aside from warming those bottles, defrosting foods and reheating most everything, I’m quite sure I never got the full use out of that monstrosity. In fact I’ve downsized my microwaves three or four times and now have only a small – plate wide – microwave on my counter. Not quite ready to bid adieu to microwaves altogether! How would I warm up my coffee?
I was surprised to find I still had a Litton Microwave Cooking Step-by-Step Cookbook (1978) on my shelf. And even more surprised to find a recipe for the hot fudge sauce I’ve been craving. It’s even better reheated. This isn’t a super thick sauce but appropriately rich and thick enough to coat that ice cream. Don’t forget the whipped cream and cherry!
Hot Fudge Sauce
1 cup sugar
4 tablespoons cocoa
1 tablespoon flour
⅛ teaspoon salt
¾ cup milk
2 tablespoons butter or margarine
2 tablespoons light corn syrup
1/2 teaspoon vanilla
Combine dry ingredients in a 4-cup measuring cup or 1½-quart mixing bowl. Stir in milk. Add butter and syrup. Microwave at High 3 to 4 minutes until thick, smooth and a rich chocolate color. Stir in vanilla, mixing well. Serve hot or cold.
Tip: To reheat, microwave at High, covered with plastic wrap, 15 to 30 seconds for each ½ cup of sauce.
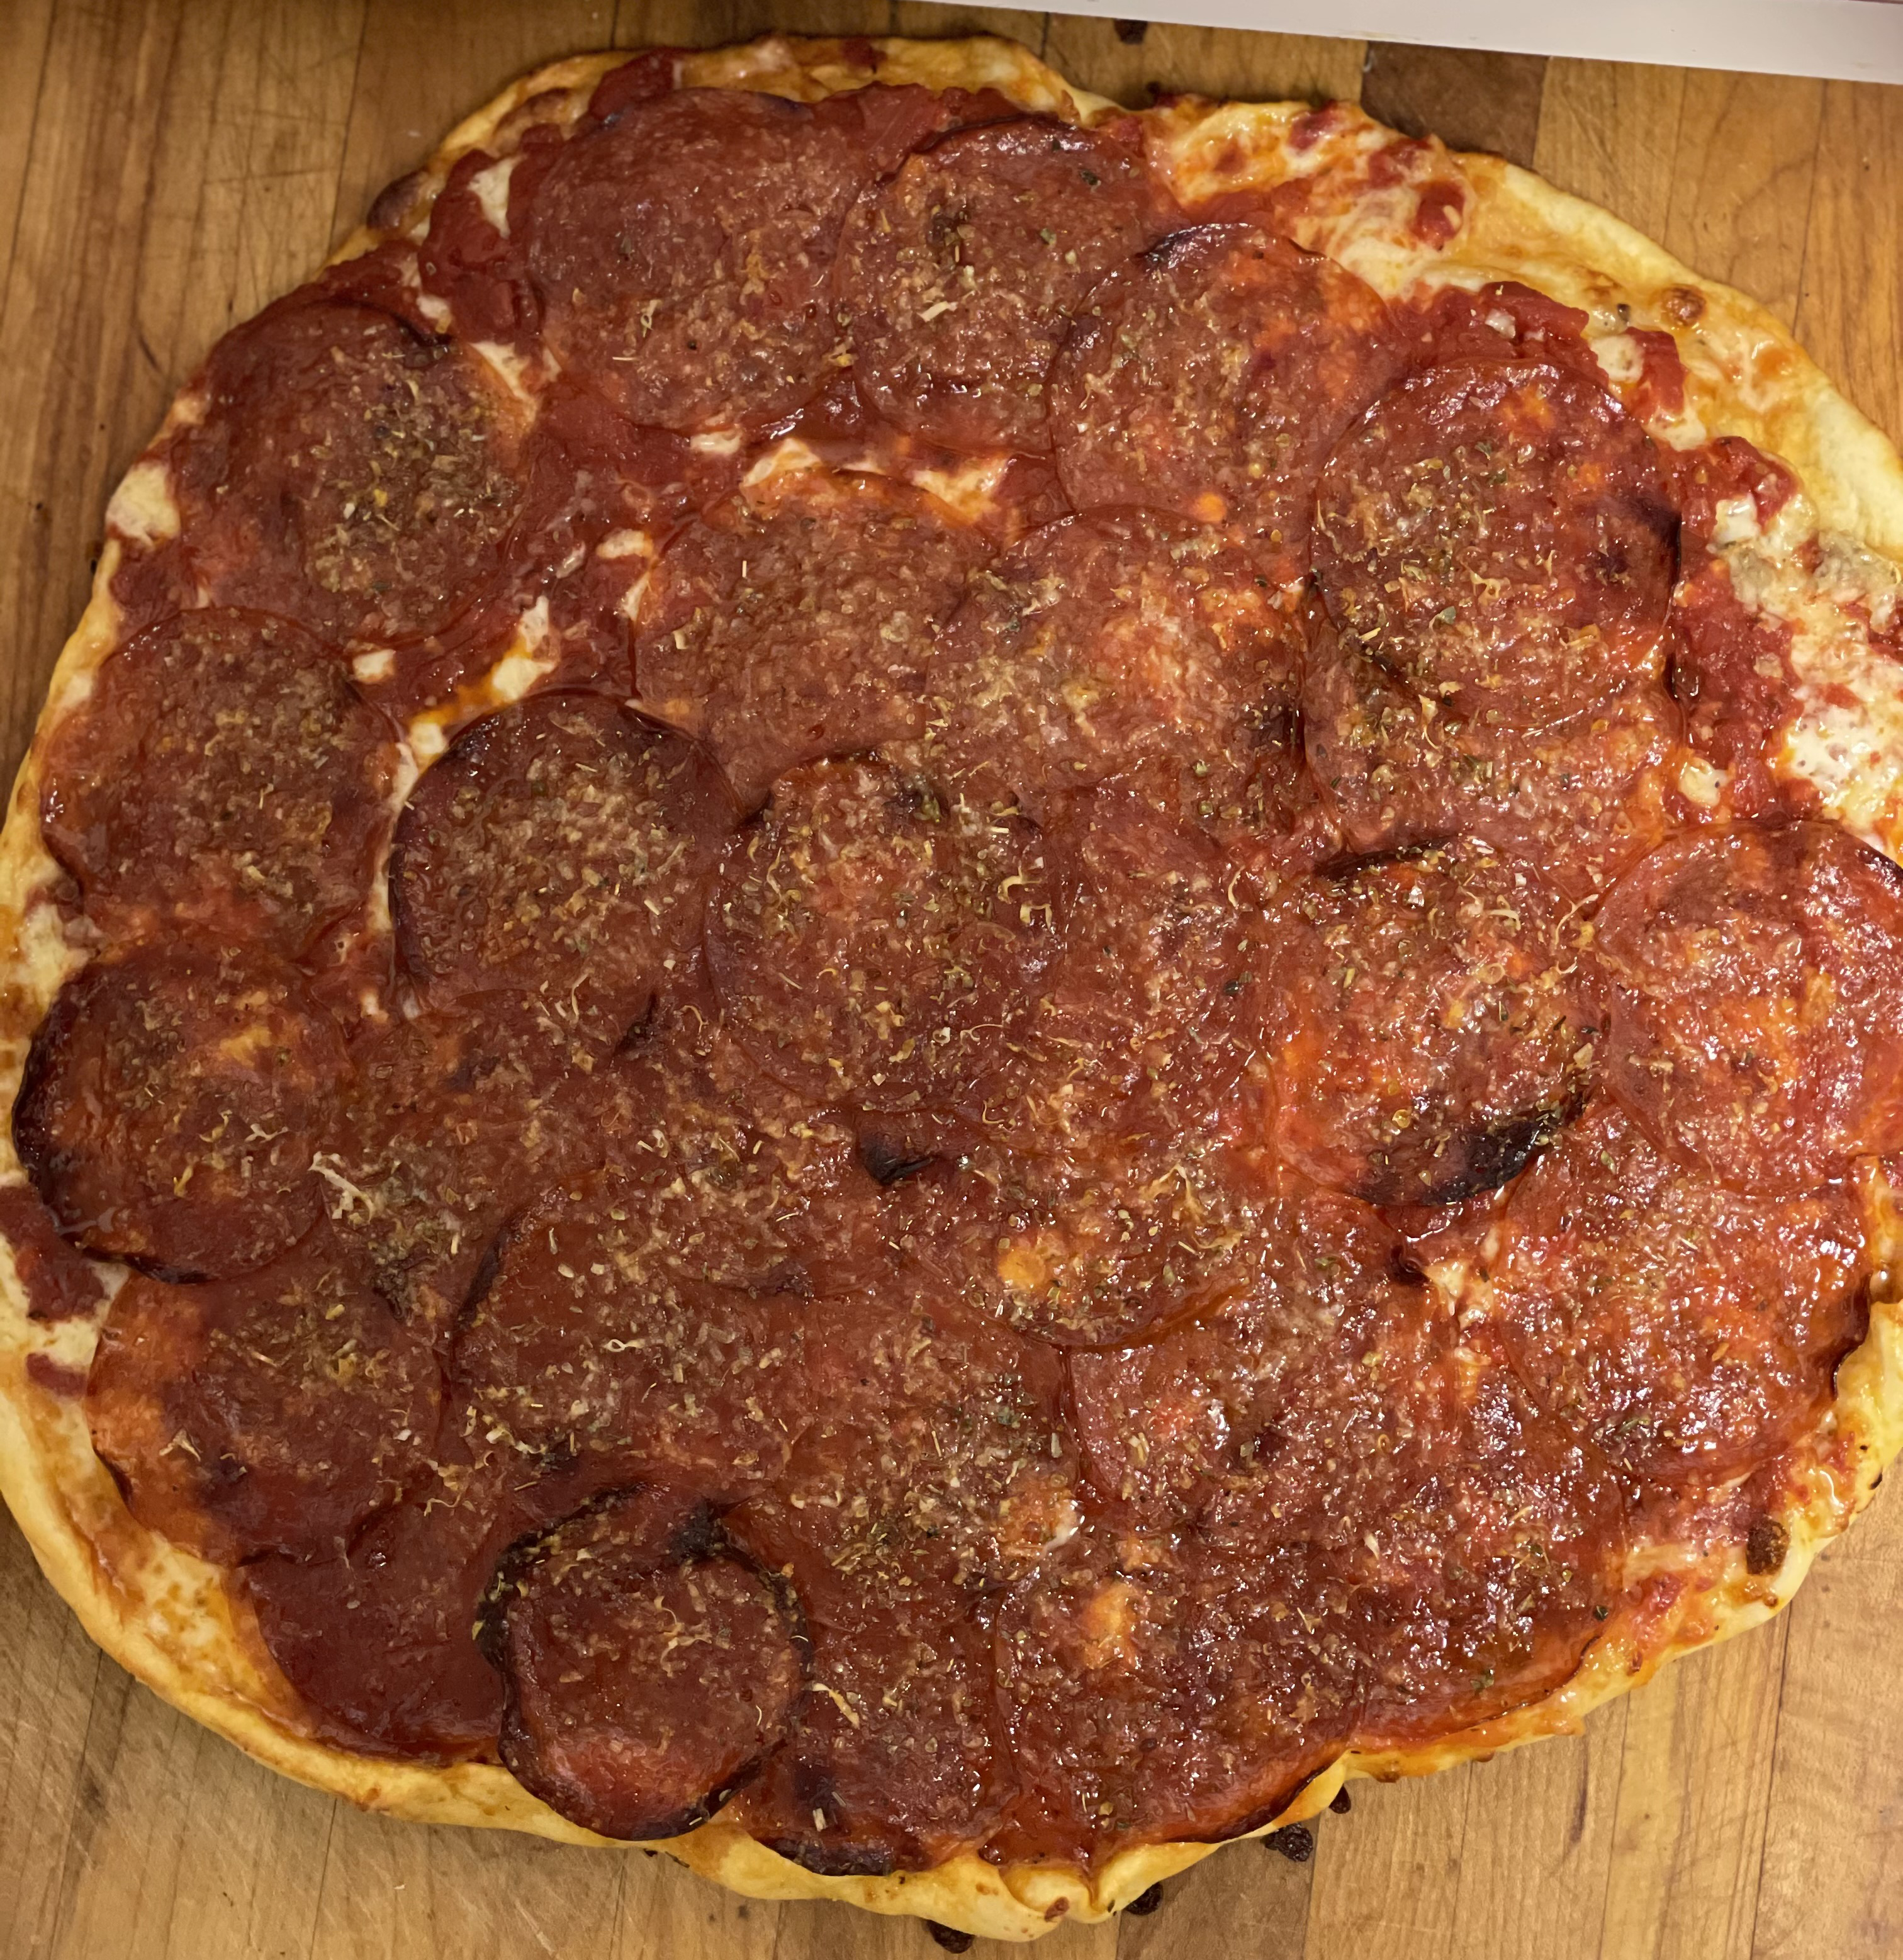
I love pizza. Whether it’s thin, thick or deep dish – I’m on board. And thanks to Covid – and writing this blog – I’ve been perfecting my pizza-making skills. Fortunately, my husband – aka my sous chef – has mastered rolling and shaping of just about any type of dough. I create the dough. He rolls it out and we top it together. FYI, it helps to have the tools the professionals’ use – namely a pizza stone and a pizza peel. Today’s recipe is for New York style pizza. I found it in a cookbook aptly titled Pizza by James McNair (1987). I wish I knew how this book came to be in my cookbook collection. I got excited when I discovered a personal note written on the title page – until I realized I don’t know any of the folks mentioned. Here’s that inscription:
Christmas 1989
Merry Christmas to Gove
May this spurr your creativity and love for the delicious!
Love Andrew and Lesly
(It certainly has worked for us.)
In any case, it’s helped with MY creativity and I’m glad I ended up with this slim volume of pizza recipes. Do speak up if you know any of these folks! And do NOT be intimidated by the length of this recipe. Honest. Tomato sauce can be made in advance. And the dough comes together in minutes and rolls out seamlessly. The crust is wonderfully chewy but sturdy enough to hold all your favorite toppings.
New York Style Pizza
Pizza Dough
1 envelope (¼ ounce) active dry yeast
1 cup warm (110 to 115 degrees F) water
3¼ cups all-purpose flour
½ teaspoon salt
In a small bowl, sprinkle the yeast over the water and stir gently until it dissolves, about 1 minute. When yeast is mixed with the water at the proper temperature, a smooth, beige-colored mixture results. Let stand in a warm spot until a thin layer of foam covers the surface, about 5 minutes, indicating that the yeast is effective. To mix and knead the dough in a heavy-duty electric stand mixer, combine 3 cups of the flour, the salt and yeast mixture in the large mixer bowl. Attach the flat beater, gradually turn on the machine to medium speed, and beat until well mixed, about 1 minute. Replace the beater with the dough hook and knead at medium speed until the dough is smooth and elastic about 5 minutes (my dough came together in 2 minutes!). Pinch off a piece of dough and feel it. If it is sticky, continue kneading while gradually adding just enough of the remaining ¼ cup flour for the dough to lose its stickiness. Shape into a ball and place it in a well-oiled bowl, turning to coat completely on all sides with oil. Cover the bowl tightly with plastic wrap to prevent moisture loss and let it rise in a draft-free warm place for about 45 minutes for quick-rising yeast or 1 to 1½ hours for regular yeast.
Knead dough about 1 minute. Lightly flour the work surface. Shape the dough into a flat disk about 1-inch thick and lightly flour both sides. Starting from the center of the dough, press it out quickly with the heels of your hands, working around the dough to create a circle, until the dough is about ½-inch thick. Dust with flour to prevent sticking. Stop stretching before you reach the outer edge of the dough, which will form the rim of the pizza. Push on dough to create a rim all the way around dough.
Tomato Sauce
1 28-ounce can Italian plum tomatoes
2 tablespoon tomato paste
1 or 2 garlic cloves minced or pressed.
1 teaspoon dried basil or oregano
Salt
Freshly ground black pepper
To make tomato sauce, seed the tomatoes if desired, and crush them with your hands or a fork in a heavy nonreactive saucepan over medium heat. Stir in the tomato paste, garlic, basil or oregano, and salt and pepper to taste. Bring the mixture just to a boil, then reduce the heat to low and simmer the sauce, stirring occasionally, until thick and flavorful, 30 minutes to 1 hour. Remove from the heat.
Toppings, choose one or a combination: cooked and crumbled sweet Italian sausage, anchovy fillets, sauteed sliced mushrooms, sliced pepperoni, sliced green nor red sweet pepper, sliced red or yellow sweet onion, ripe olives
1½ teaspoons dried oregano
⅓ cup (about 1½ ounces) freshly grated Parmesan cheese
Place the dough on a pizza peel generously sprinkled with cornmeal (or assemble pizza on a sheet of parchment paper). Brush dough all over with olive oil, the add the mozzarella cheese, leaving a ½-inch border around the edges. Top with garlic and cover with the tomato sauce. Add one or more of the toppings, and sprinkle with the oregano and parmesan cheese. Drizzle evenly with olive oil.
Transfer the pizza to the preheated baking surface (e.g., pizza pan, large cookie sheet or pizza stone) and bake until the crust is golden brown and puffy, about 10 minutes. Remove from the oven to a cutting tray or board and lightly brush the crust (optional) with olive oil. Slice and serve immediately.